Cutting films
Downloading films
You should be able to figure this out. Go to YouTube and search for the scene you want to download. Google ‘how to download from youtube’ and do it.
Cutting scenes
For all of my demo scenes, I will be using this scene from No Country For Old Men (2007, dir. Joel and Ethan Coen). It’s a good one to choose because it is technically simple – a confrontation between a killer and the person who was trying to track him down – and the script is online. Most of the action takes place in one room, and there are limited camera shots.
There are instructions for Premiere Pro and DaVinci Resolve.
Premiere Pro
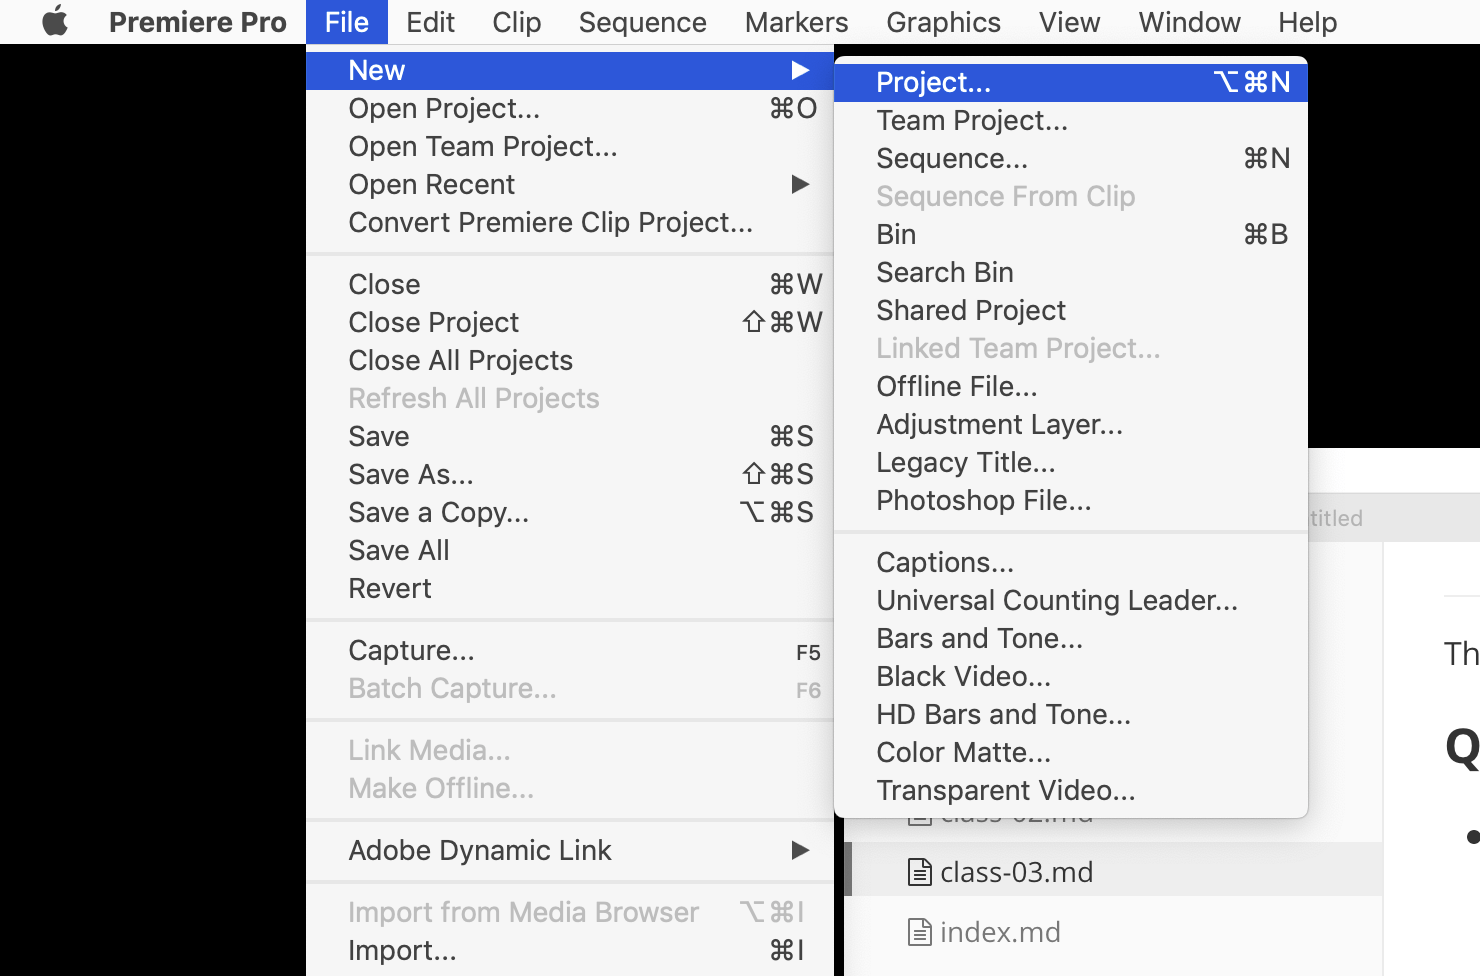
Open Premiere Pro. Select File ▶ New
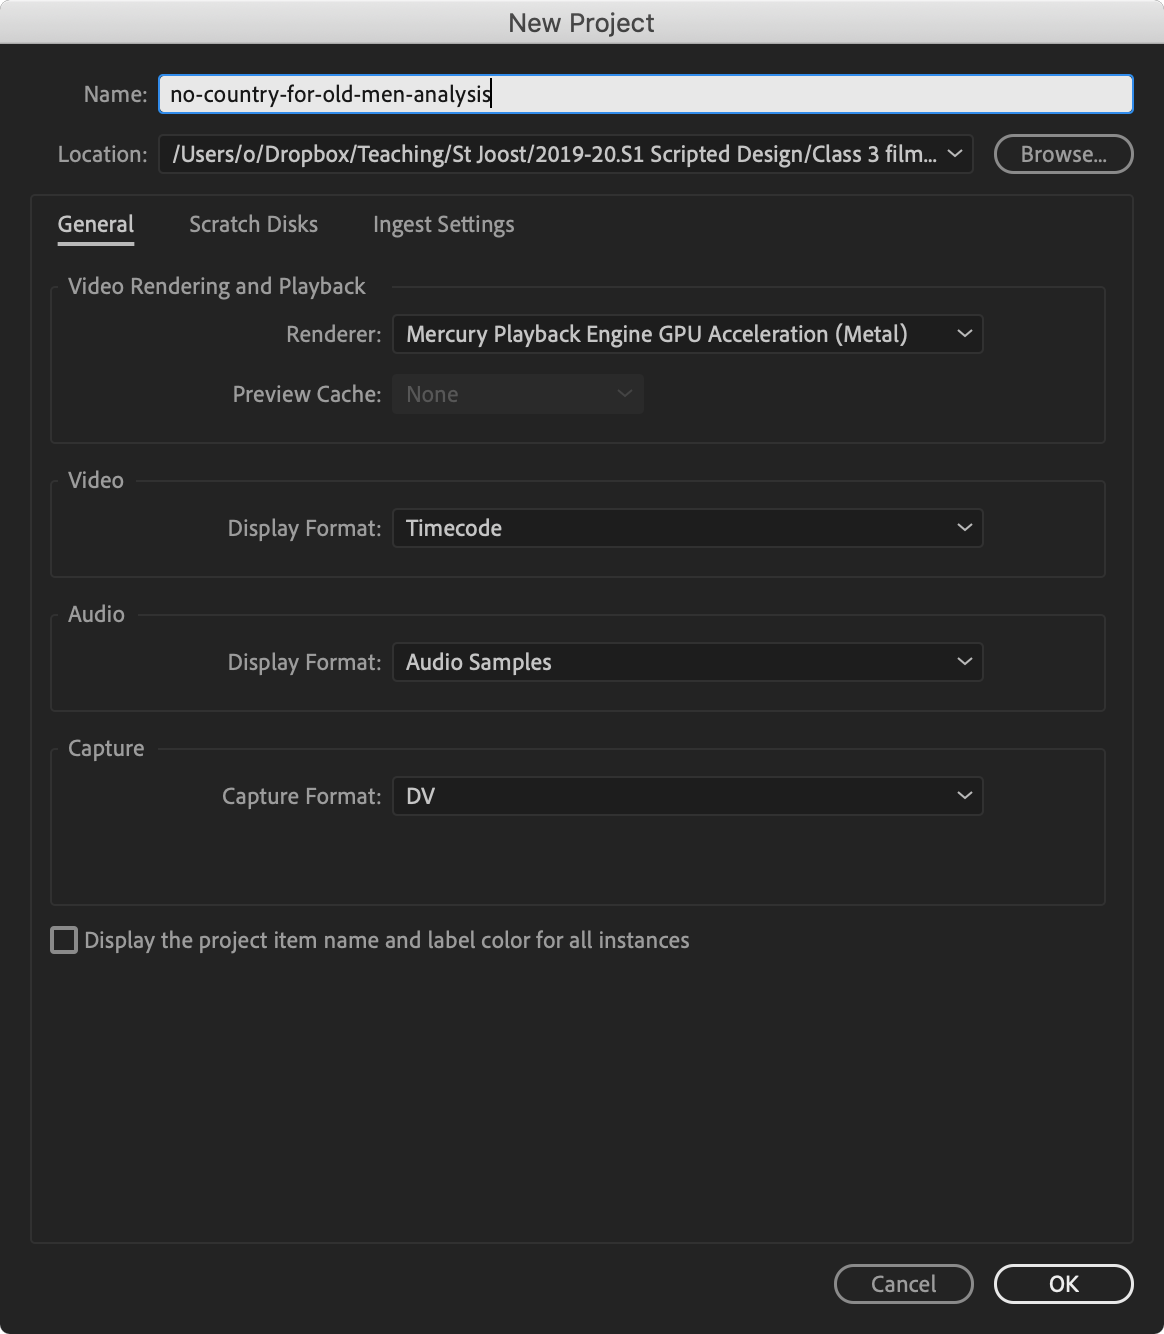
Set up a new project somewhere on your computer. Mine is called no-country-for-old-men-analysis.prproj.
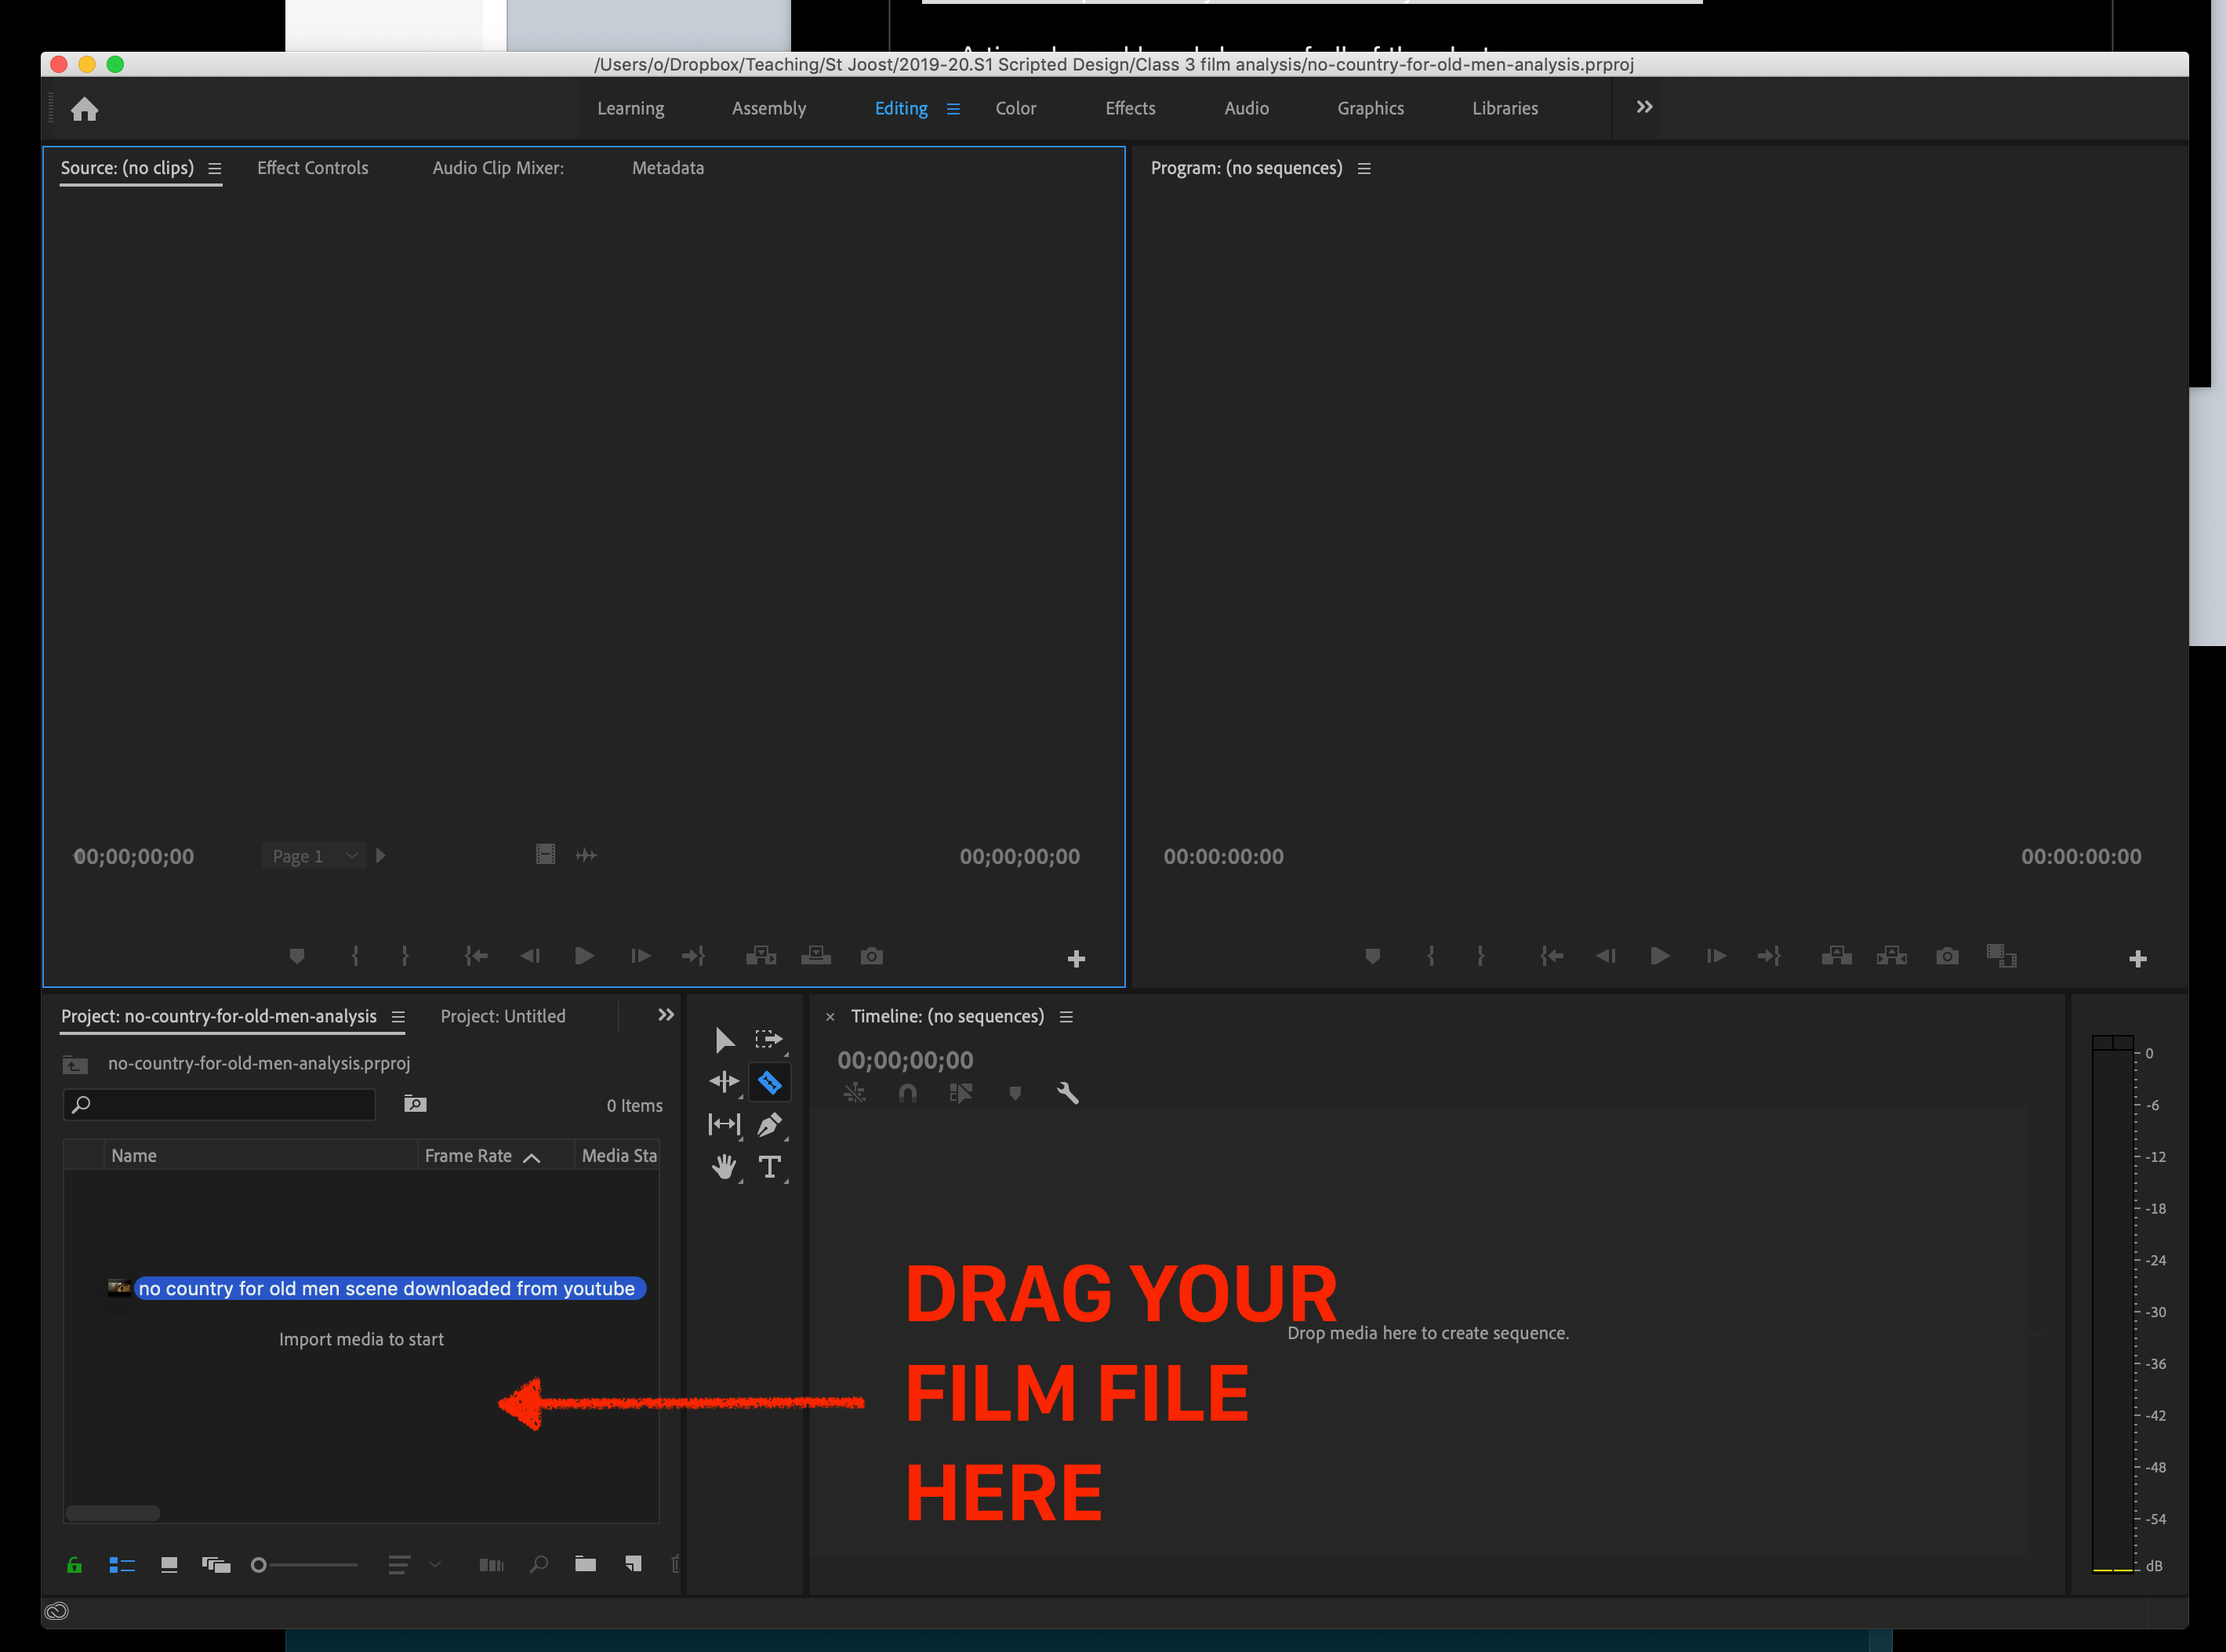
Import your film clip. Note that it’s best to store your film clip in the same folder so you can find it later.
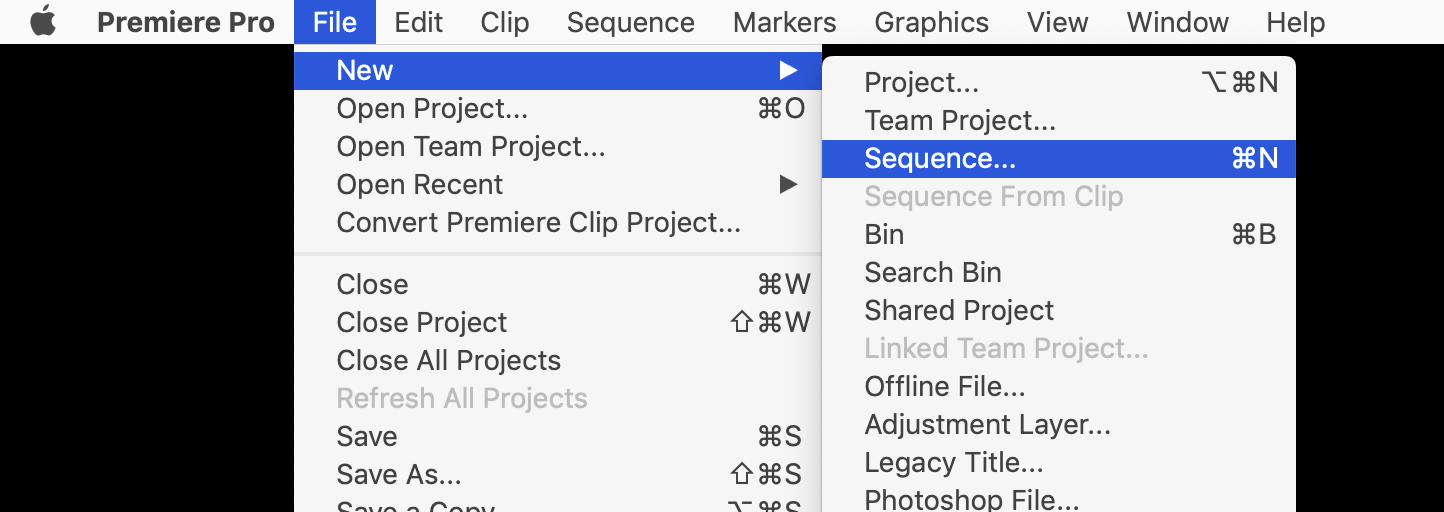
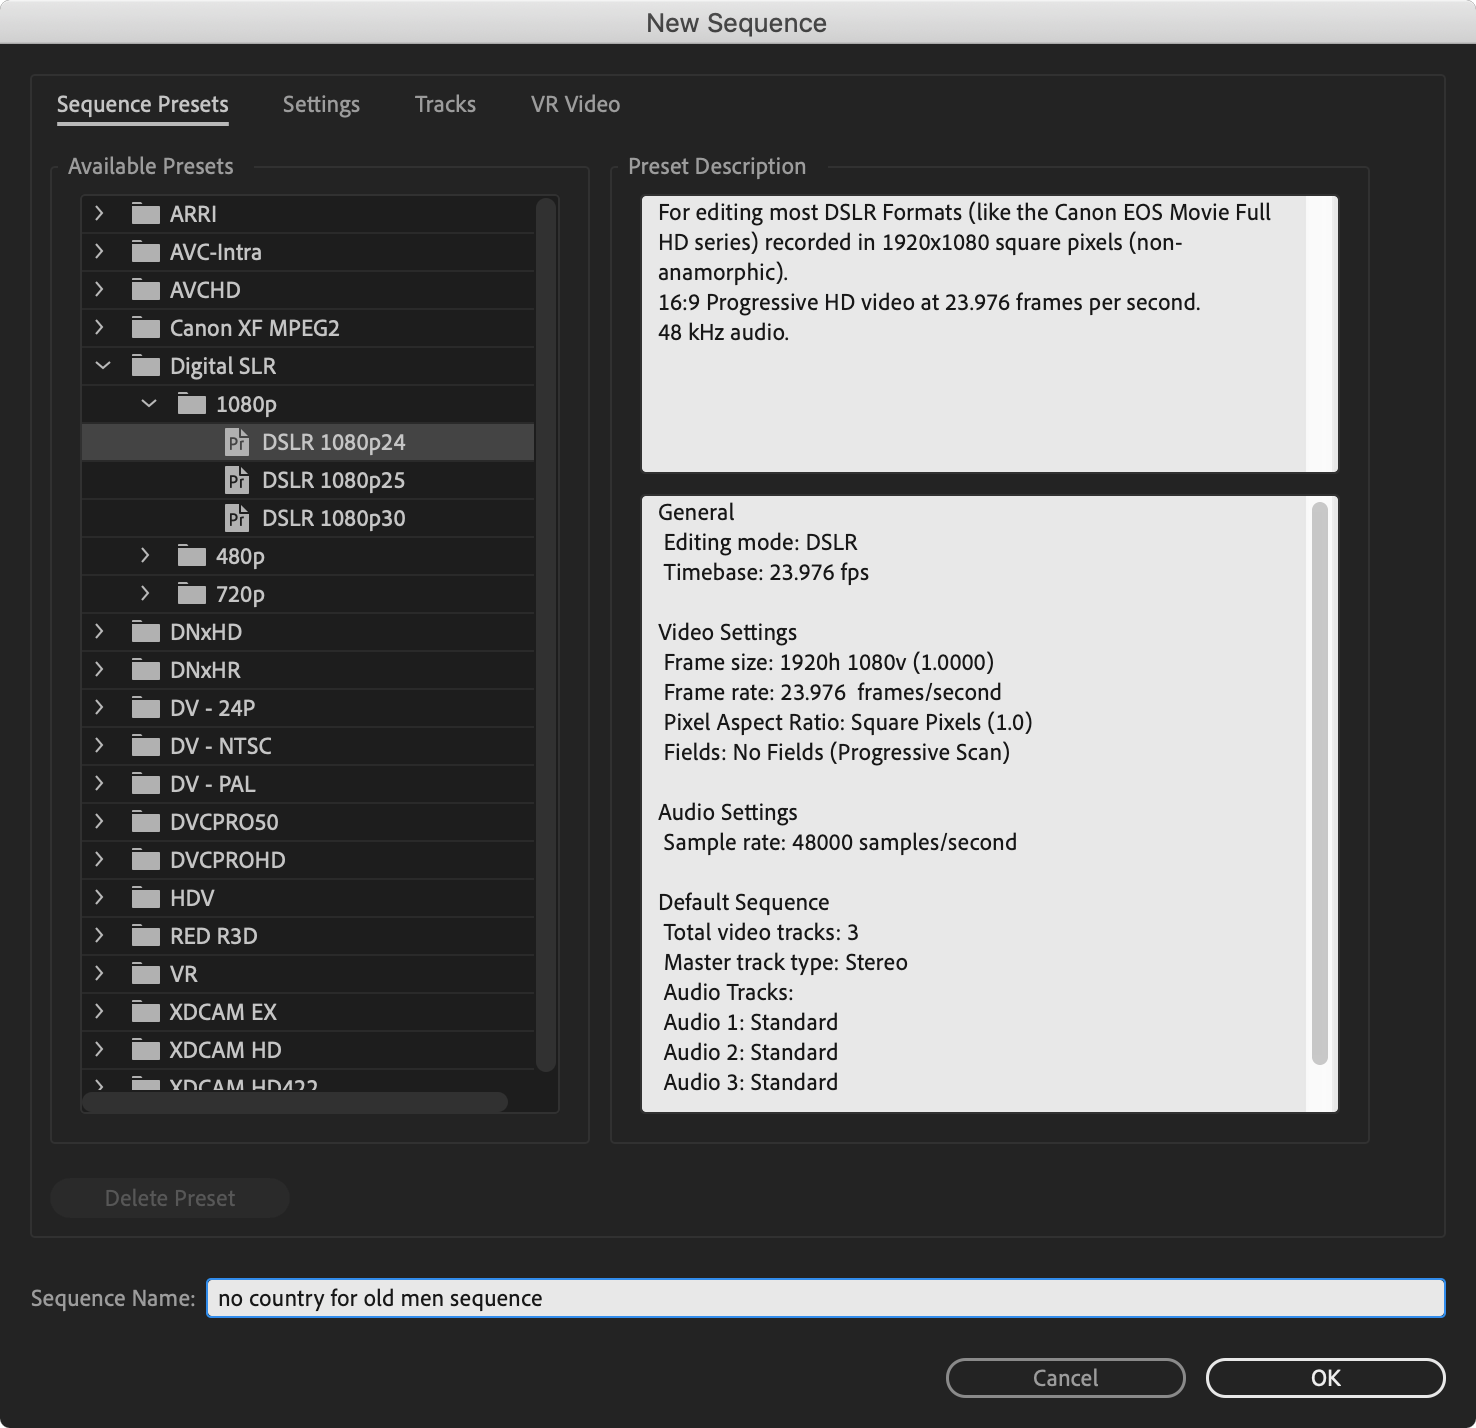
Create a new sequence. Make sure it’s 1080p!
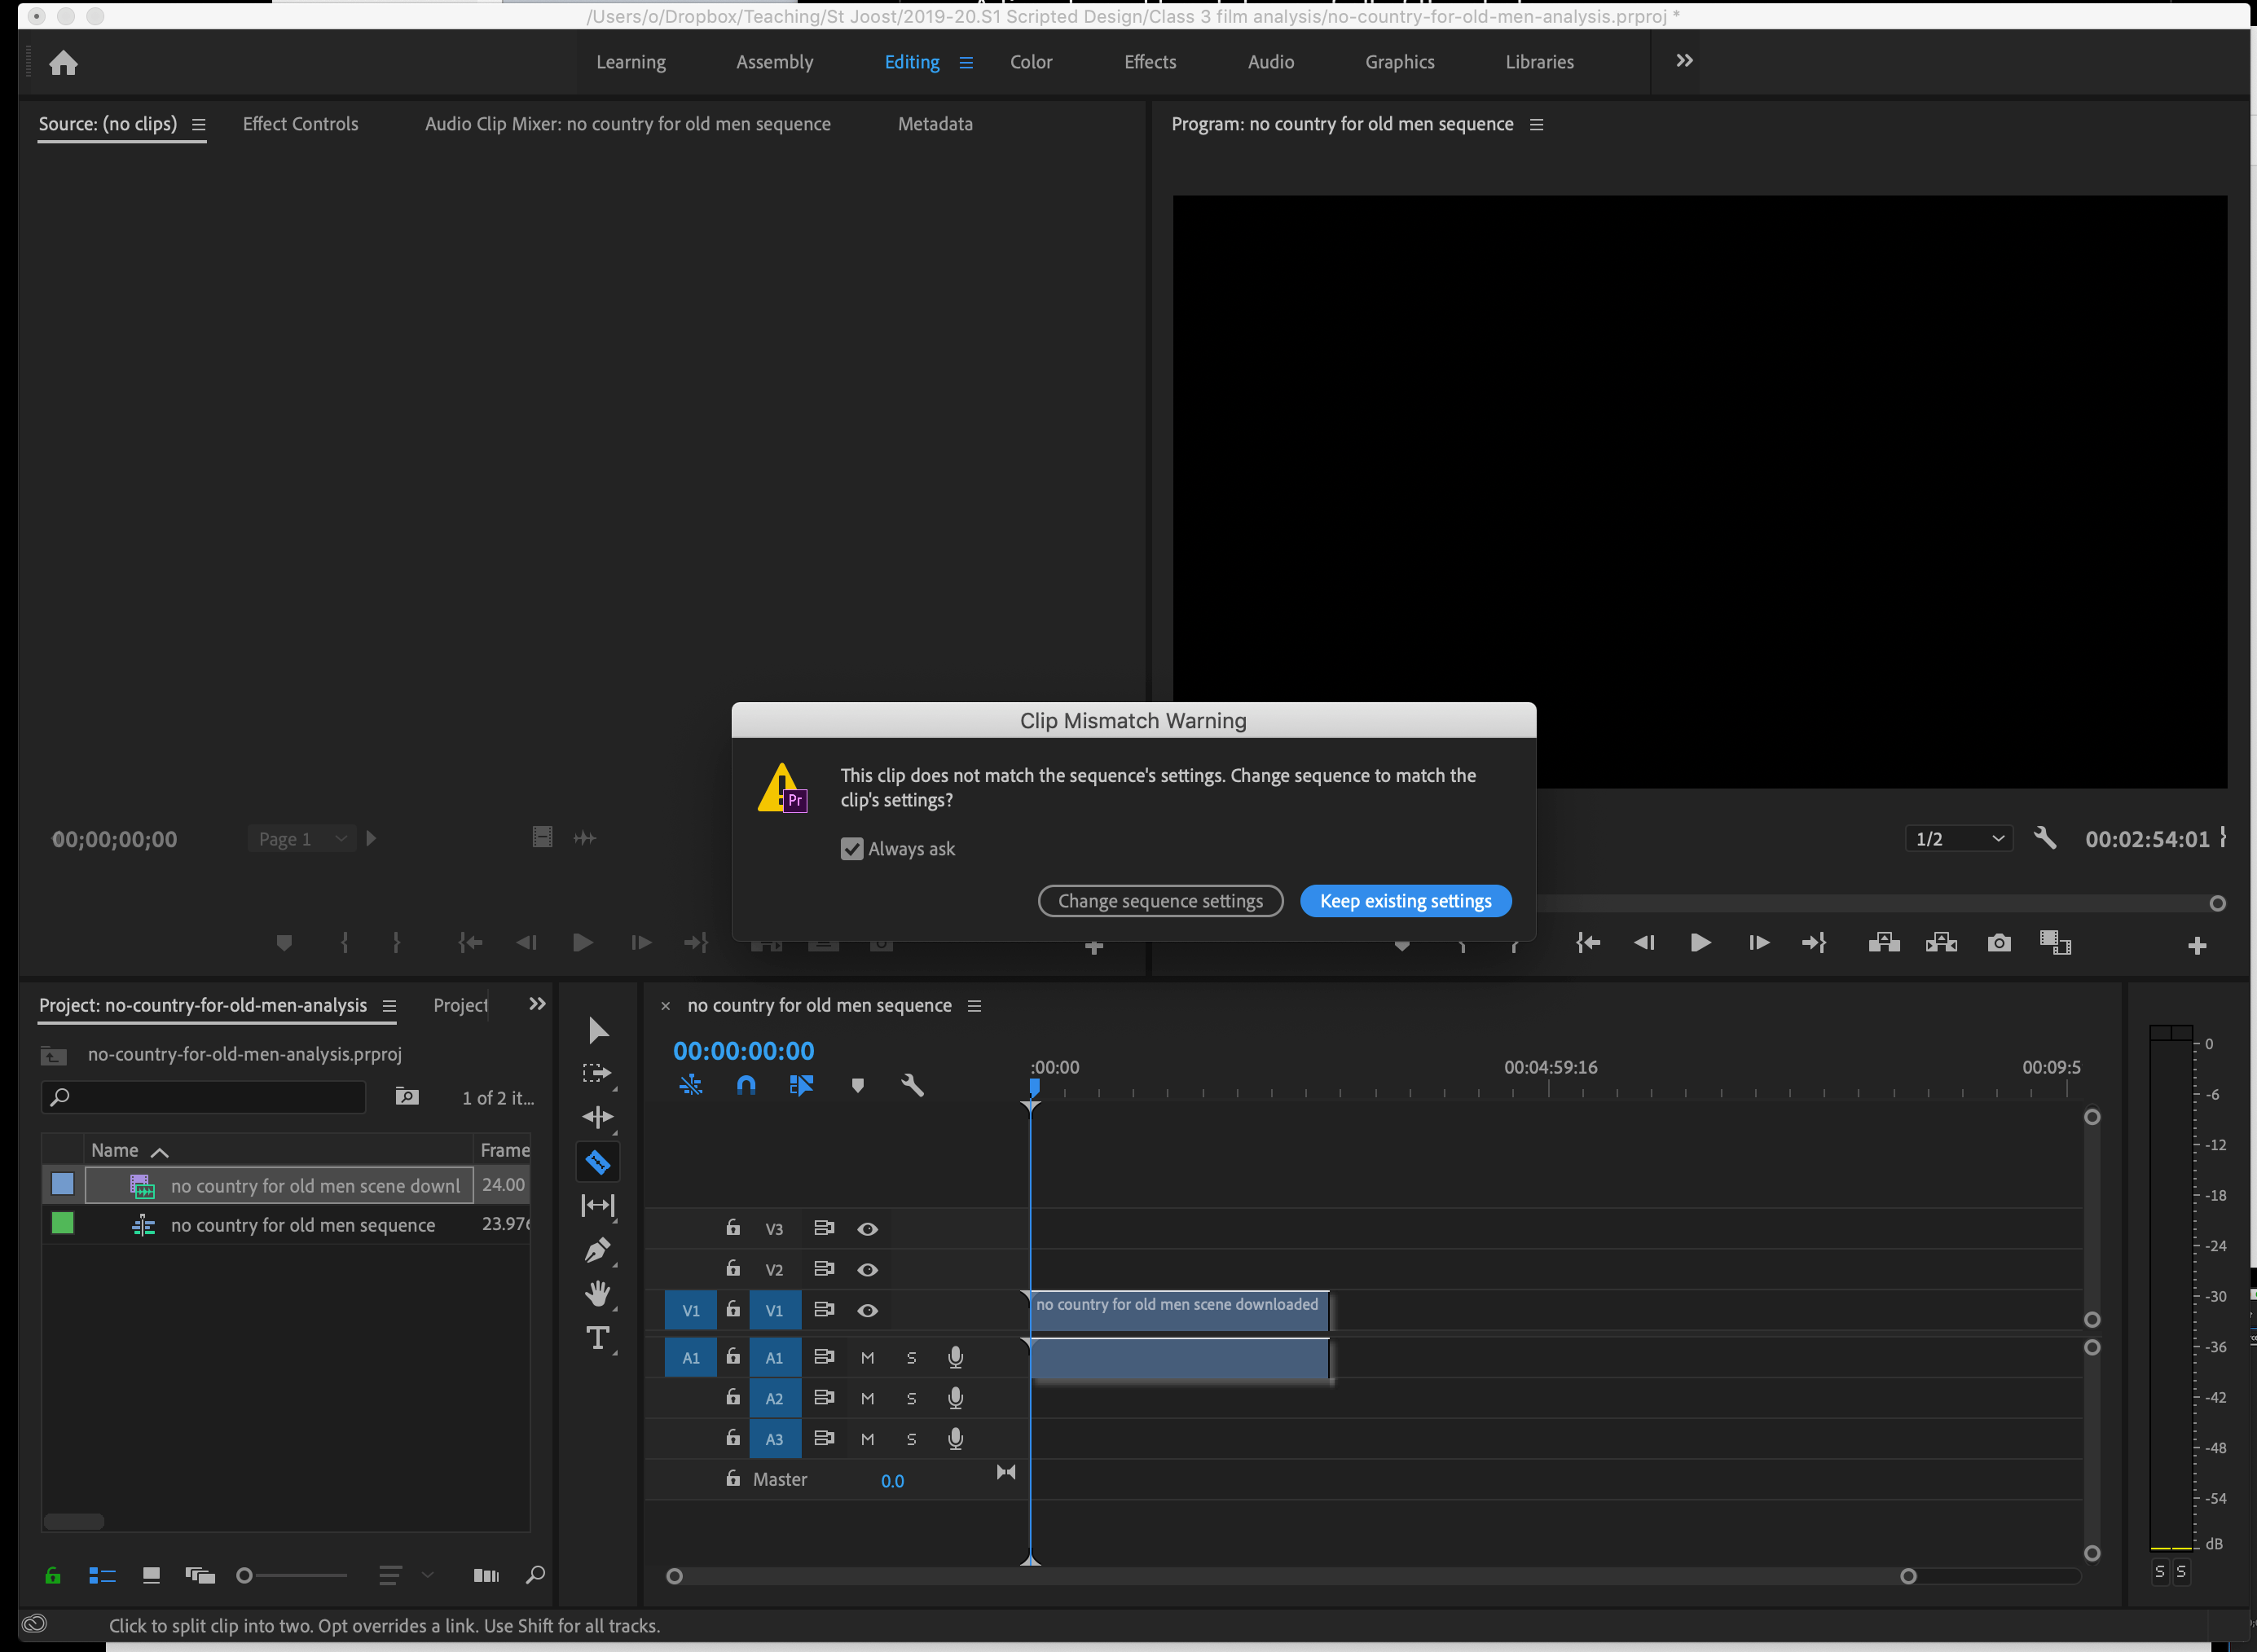
Drag your clip into the sequence. It will probably ask if you want to change the clip settings – don’t! Select ‘Keep existing settings’.
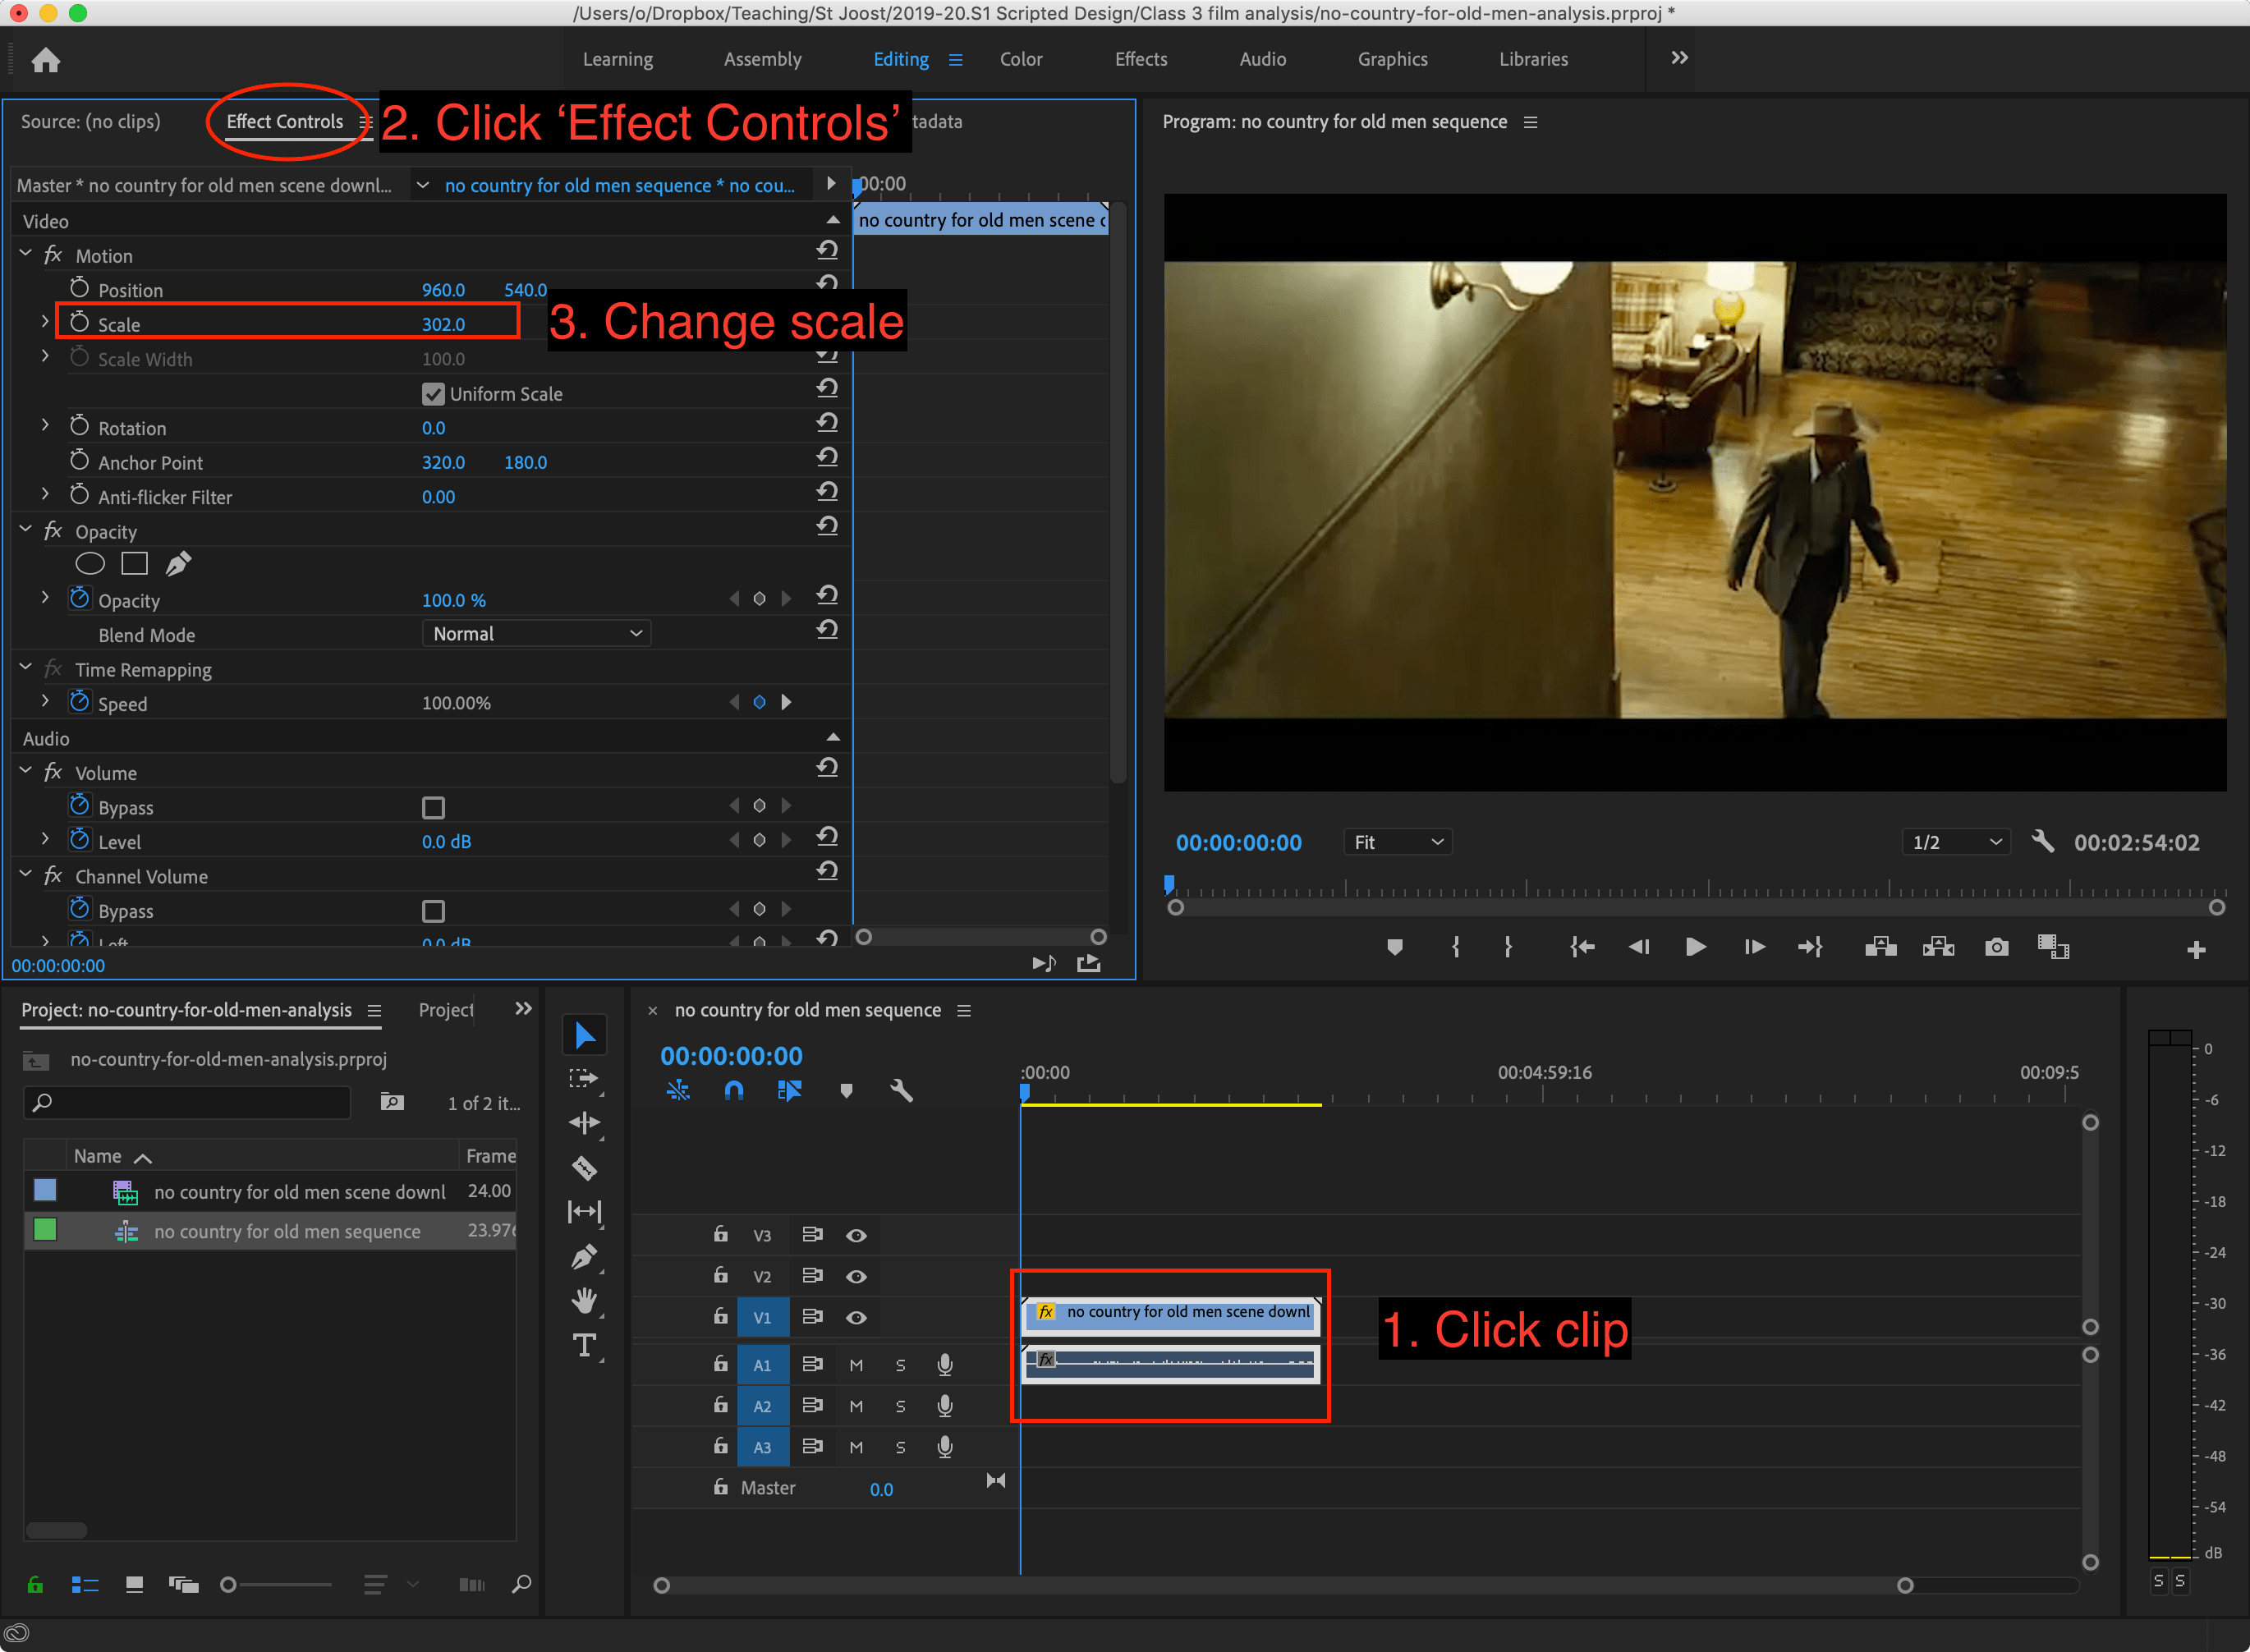
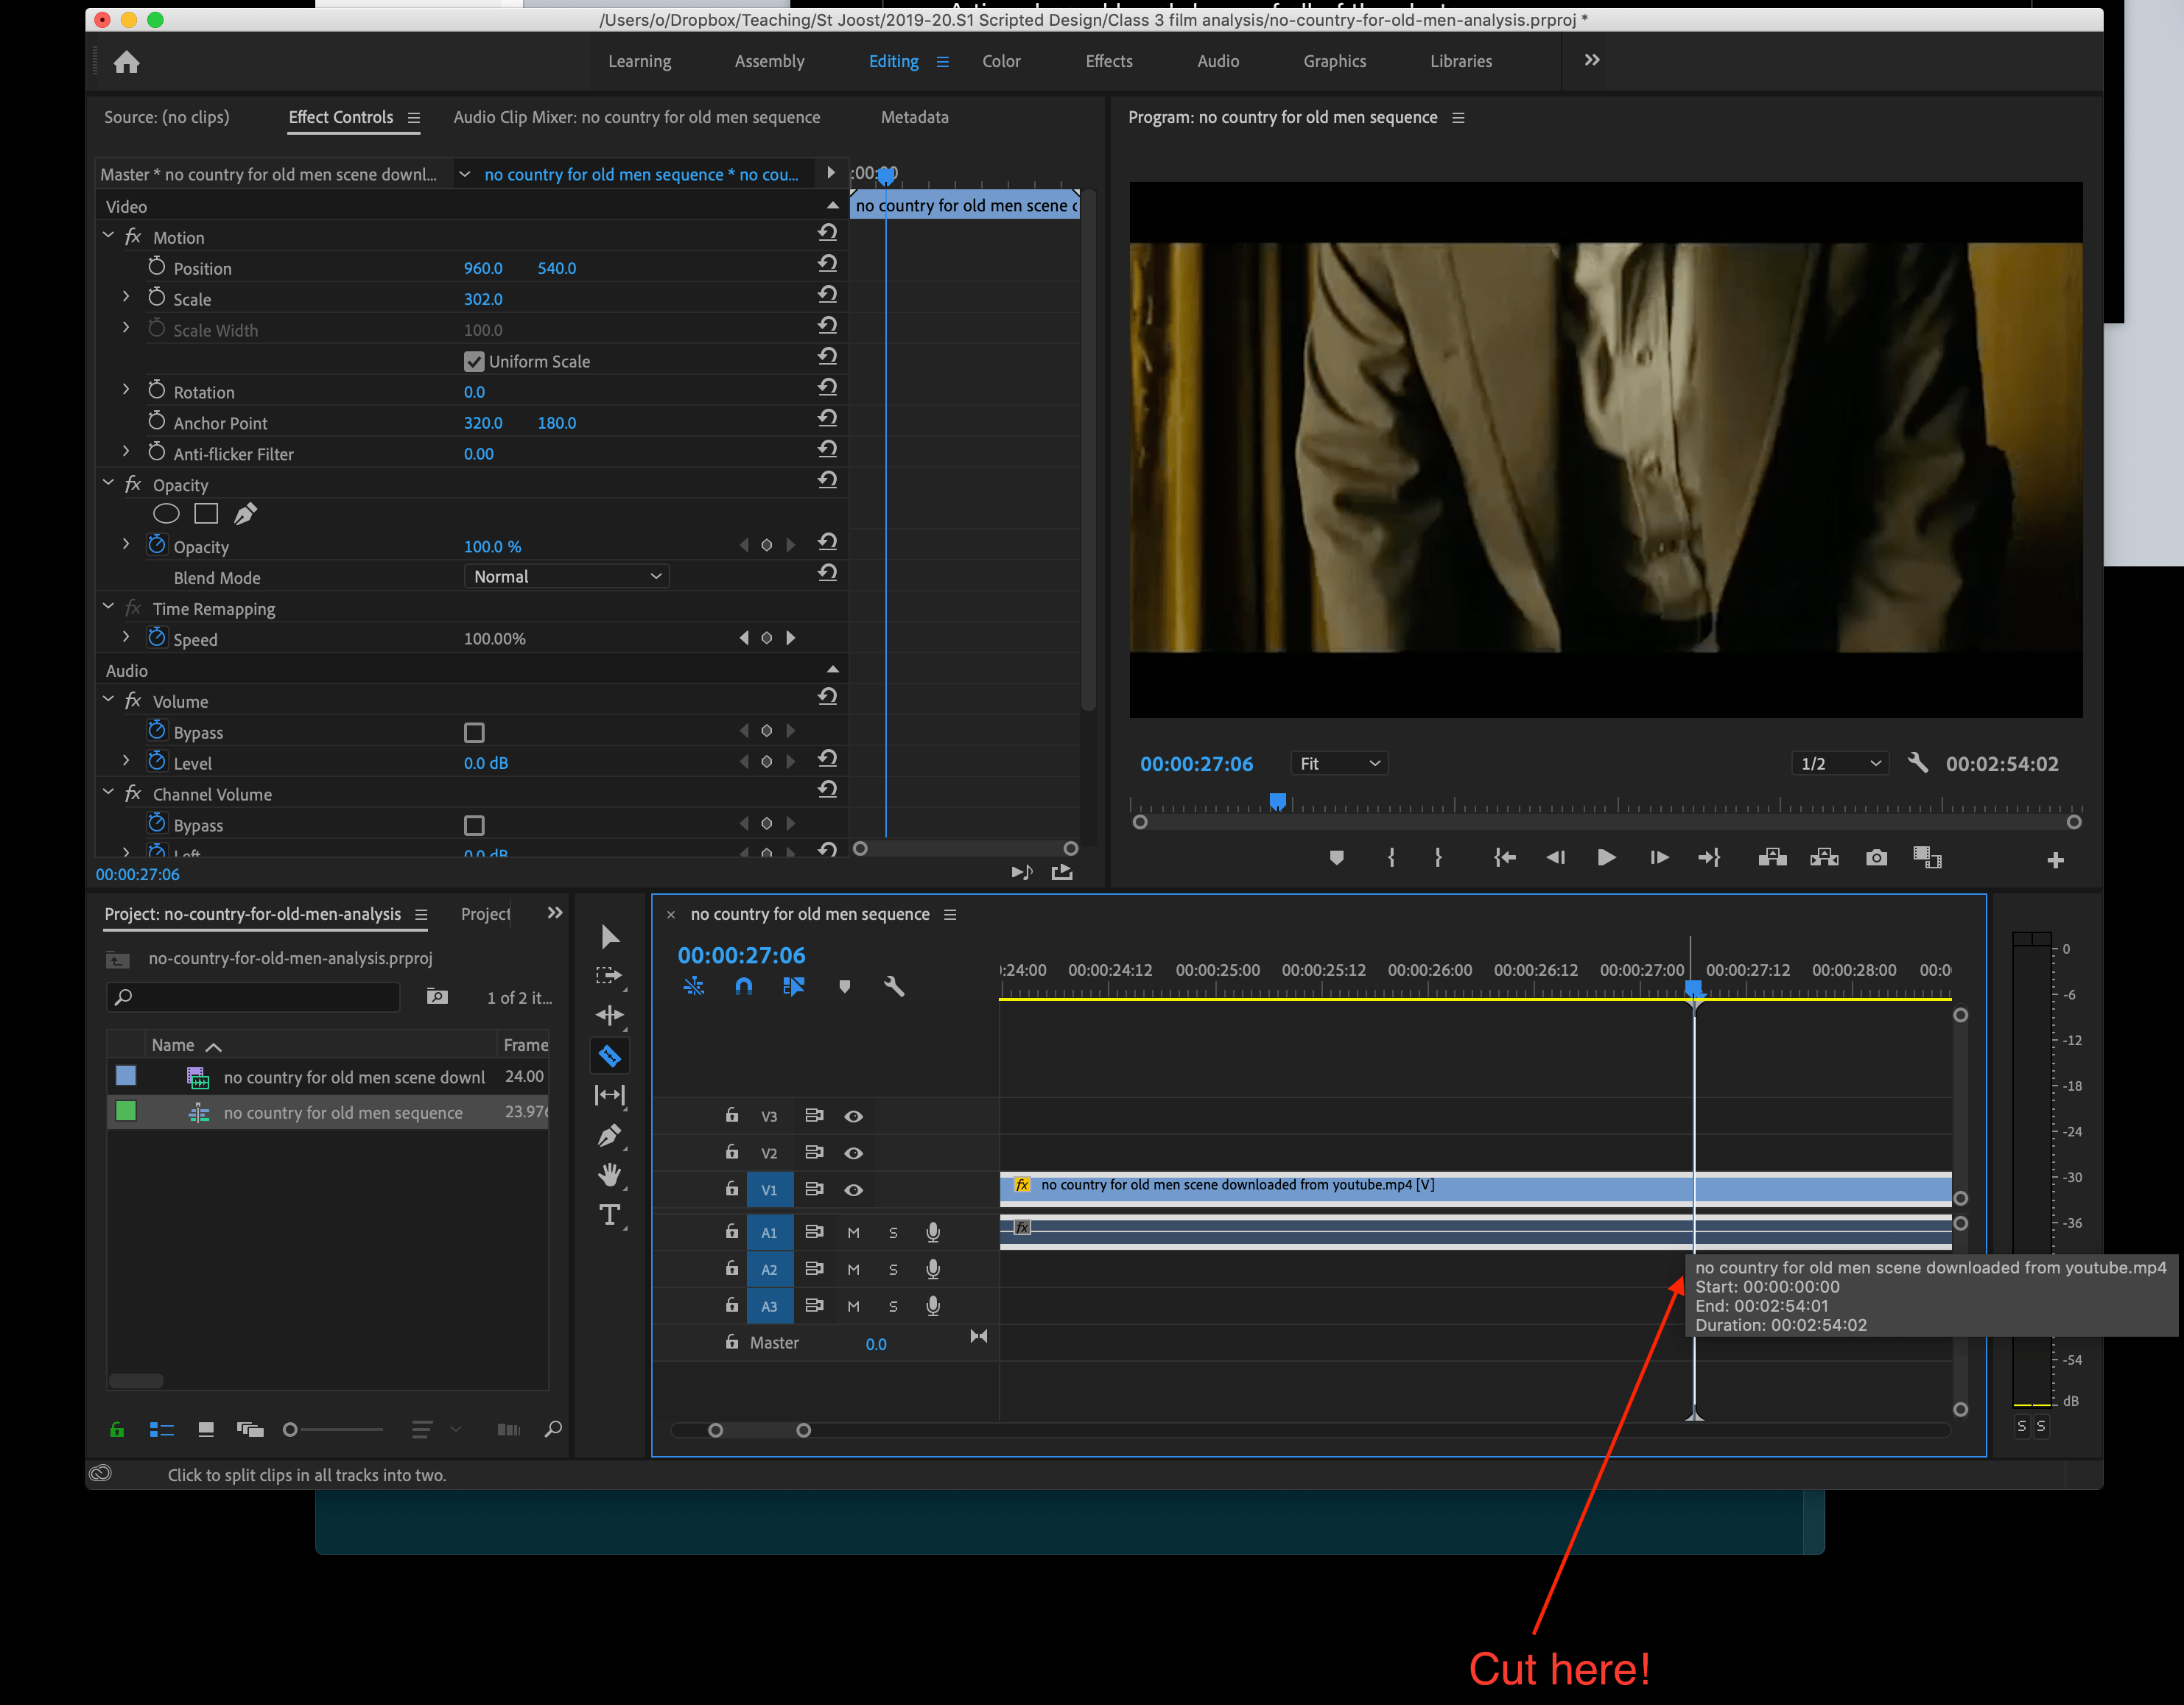
Scale your clip so it fits into the Program window. My clip was very low resolution so I had to make it 302% size.
Select the Razor tool (press C)
Now go through the clip and cut the clip every time there is a cut in the film. You can use the arrow ⬅️➡️ keys to move frame-by-frame.
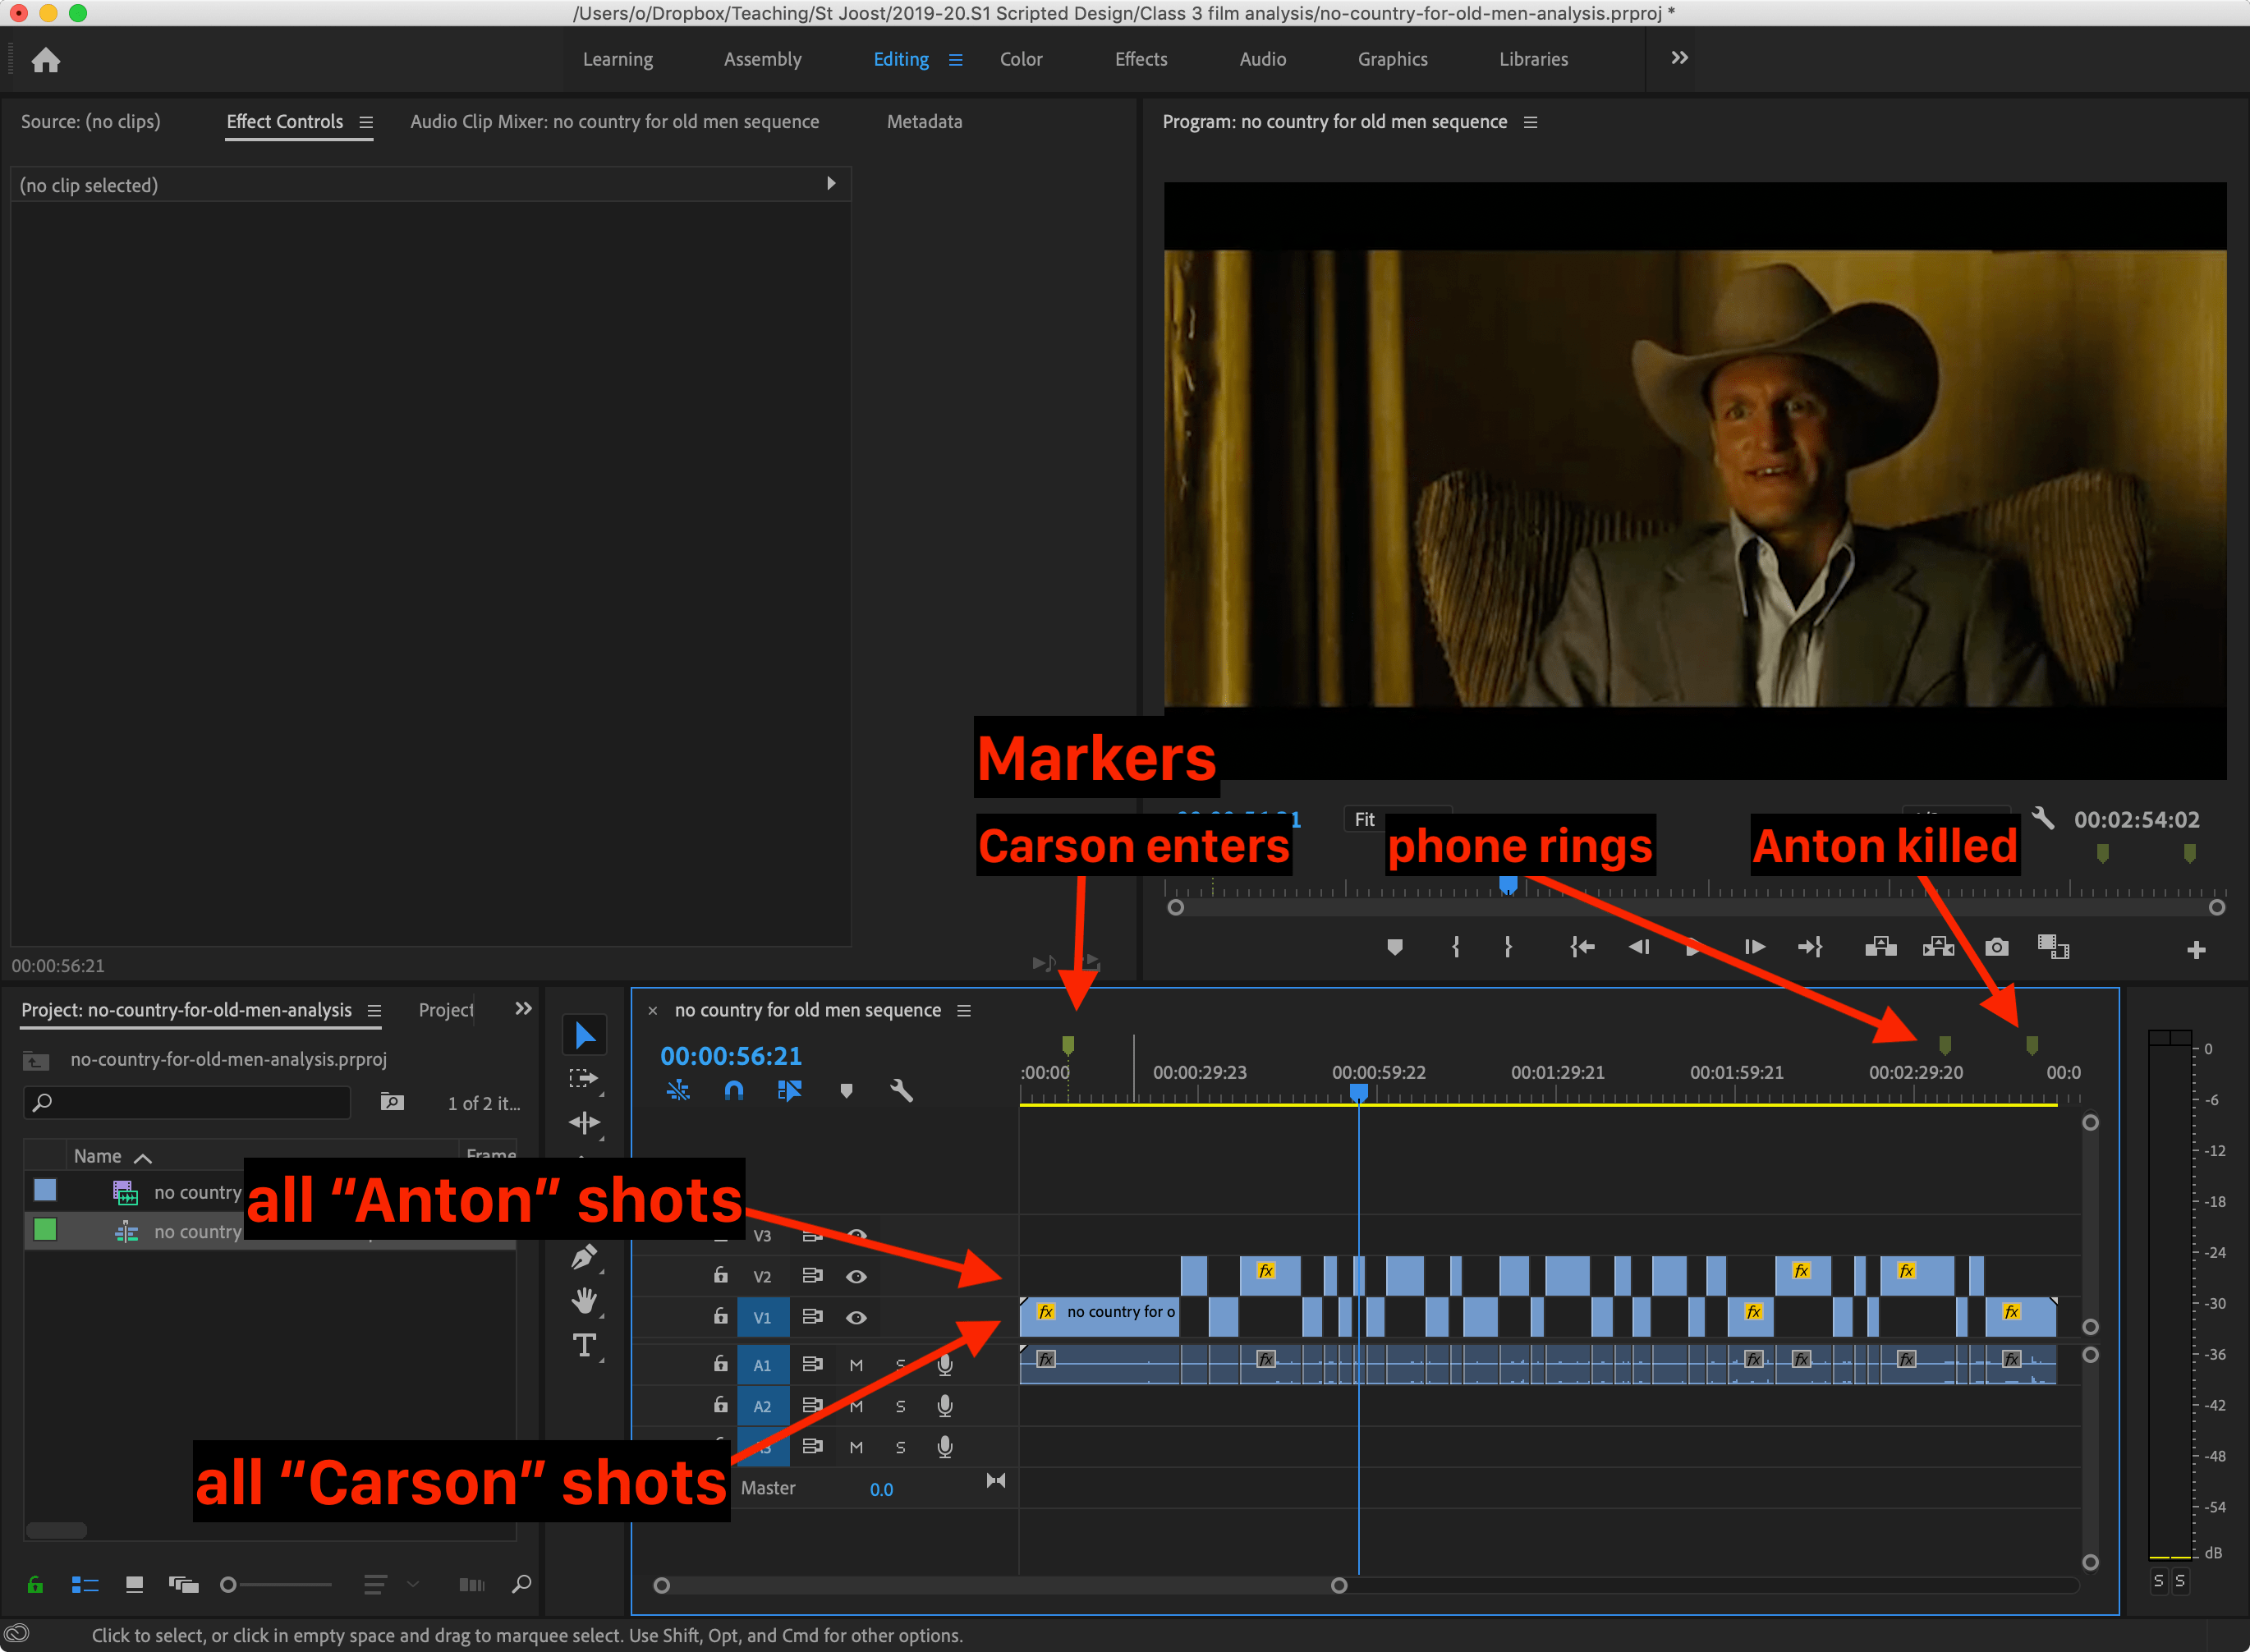
For clarity, I put the different characters on different timelines. Here, the character in black (Carson) is on video track 1, whereas the character with the cowboy hat (Anton) is on track 2.
I have also put markers (pressing M) where key events happen: one in the opening shot where the Carson enters the frame for the first time; one where a phone rings; and one where Anton is killed.
Finally, SAVE YOUR FILE! You will need it later.
DaVinci Resolve
The instructions are similar to Premiere Pro
Open Resolve. Select File ▶ New
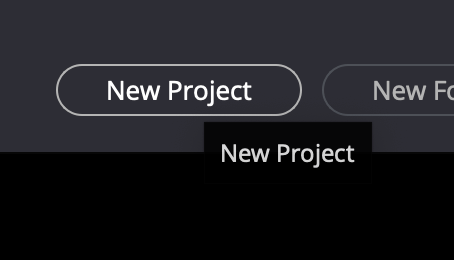
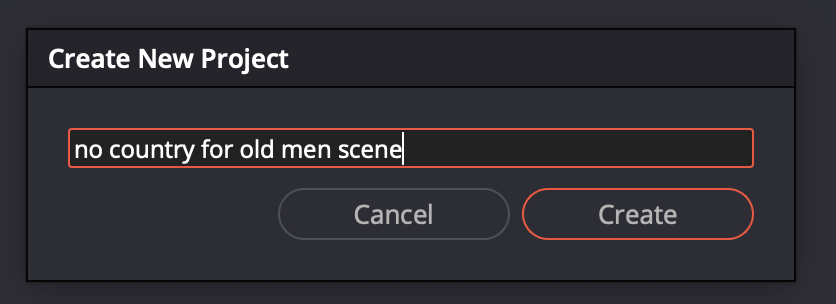
Choose your project name.
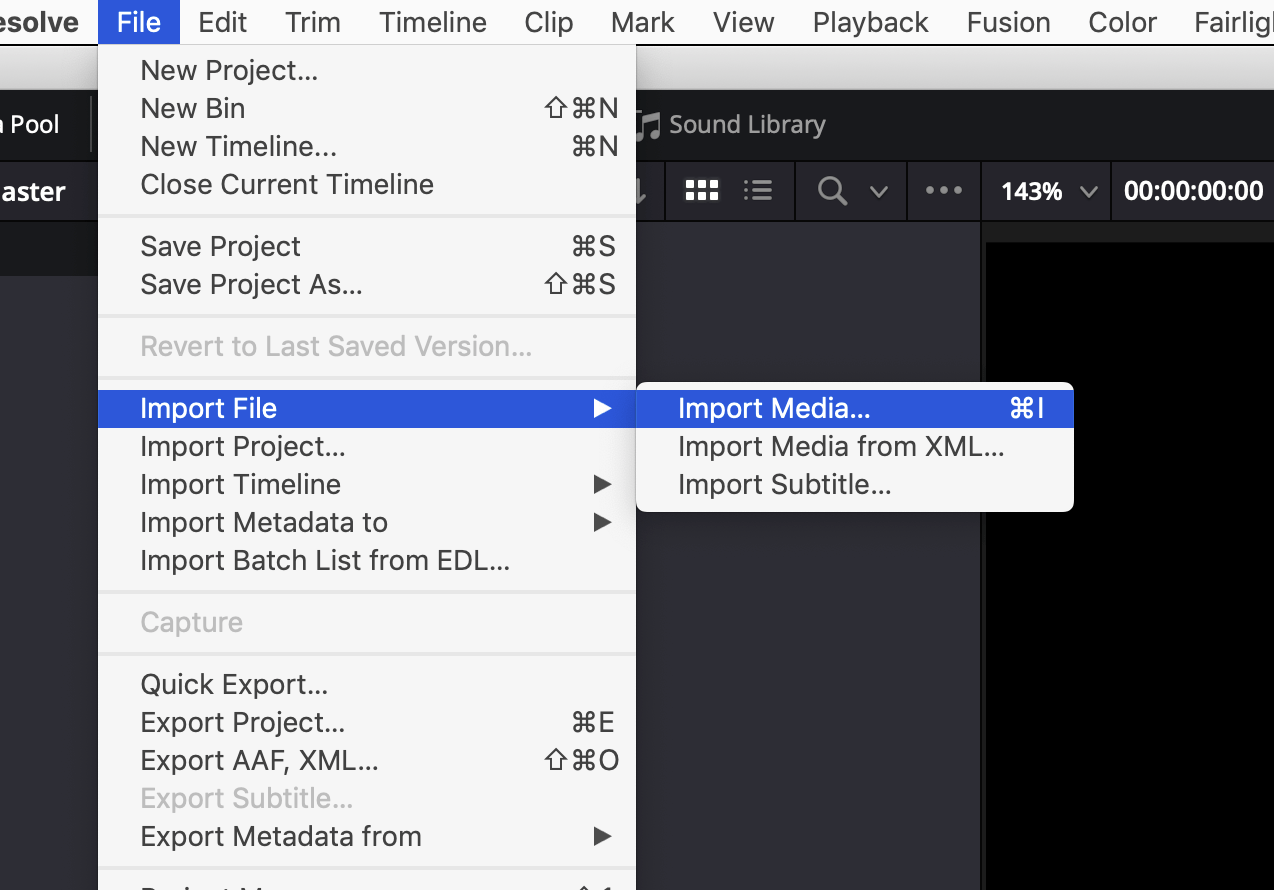
Select File ▶ Import Media
Import your film clip.
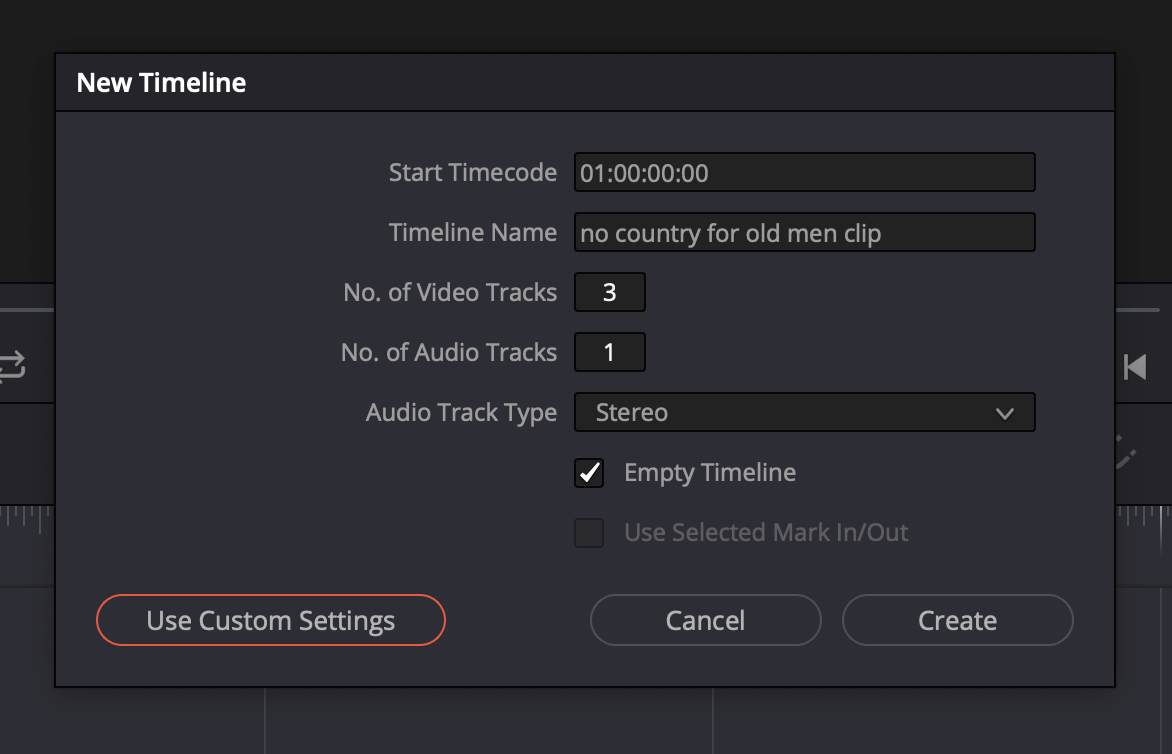
Create a new timeline. File ▶ New Timeline. Make sure your settings are for 1920x1080, opt for a few video tracks.
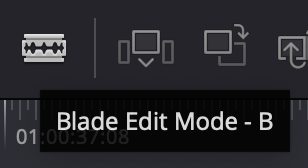
Now go through the clip and use the Blade tool (press B), cut the clip every time there is a cut in the film. You can use the arrow ⬅️➡️ keys to move frame-by-frame.

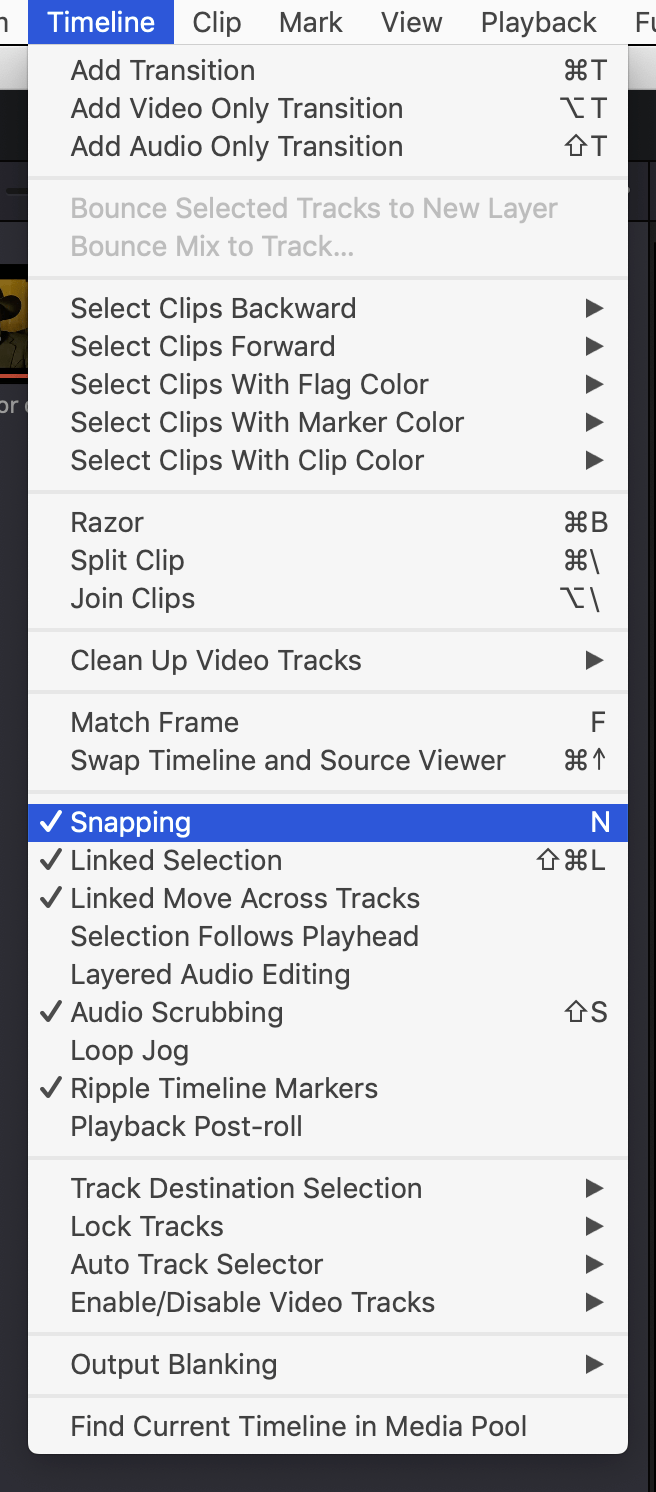
Note that you might want to turn Snapping on (press N) to make your job a little easier.
For ease of categorisation, I put all shots with Anton on one track, and all with Carson on another. I also renamed the tracks to make this clear to myself:
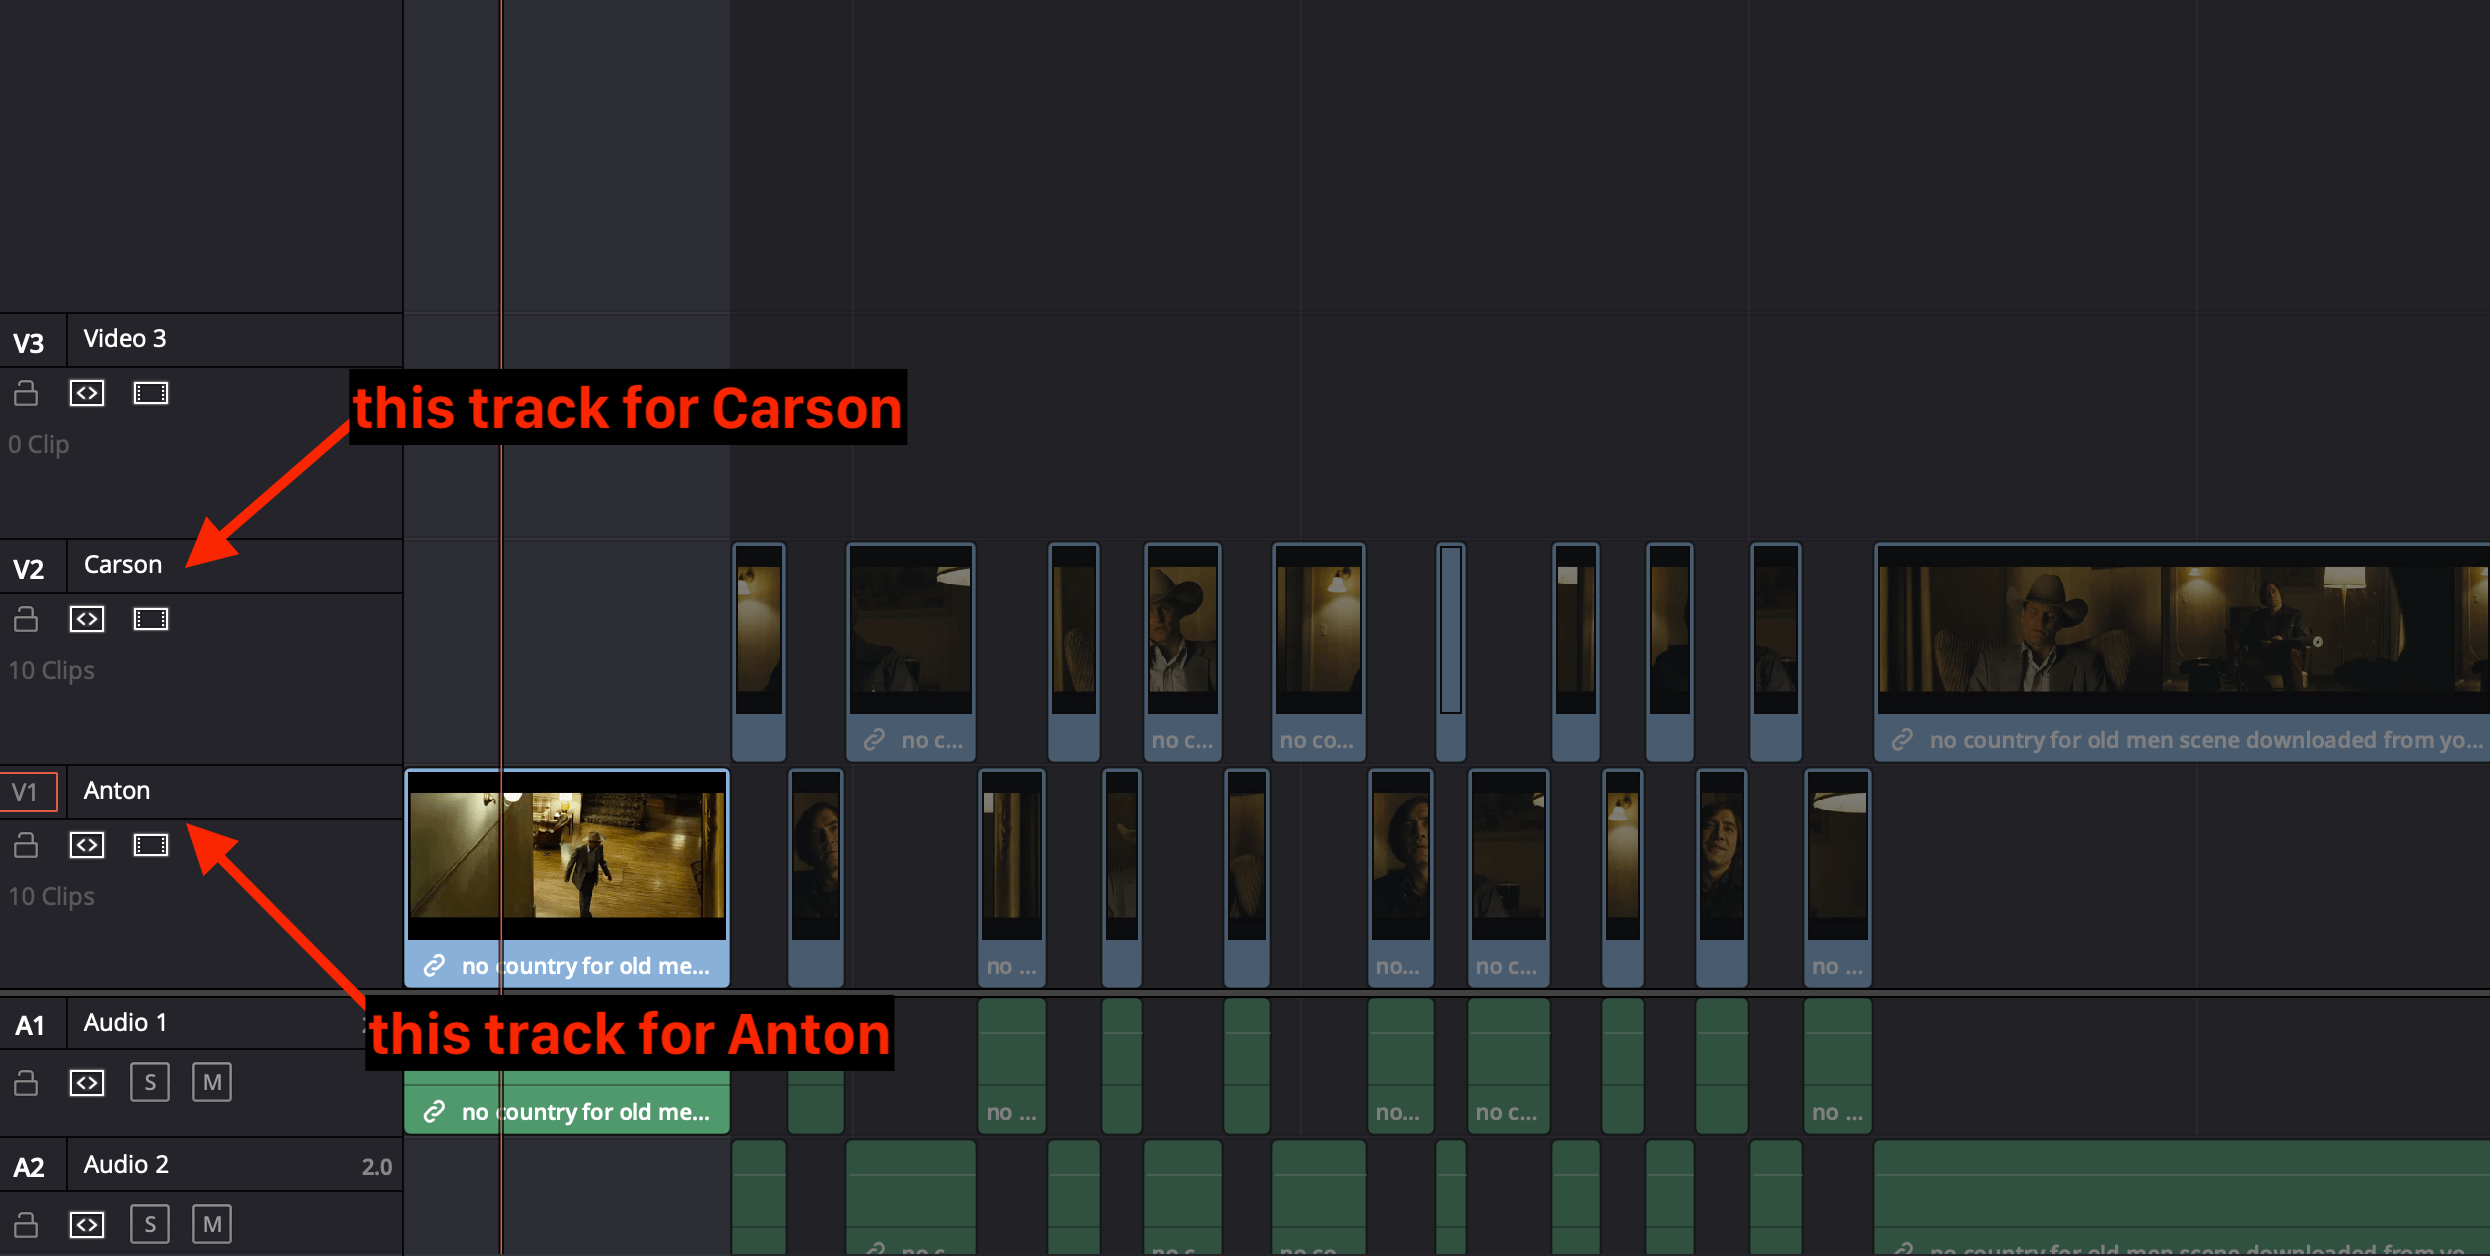
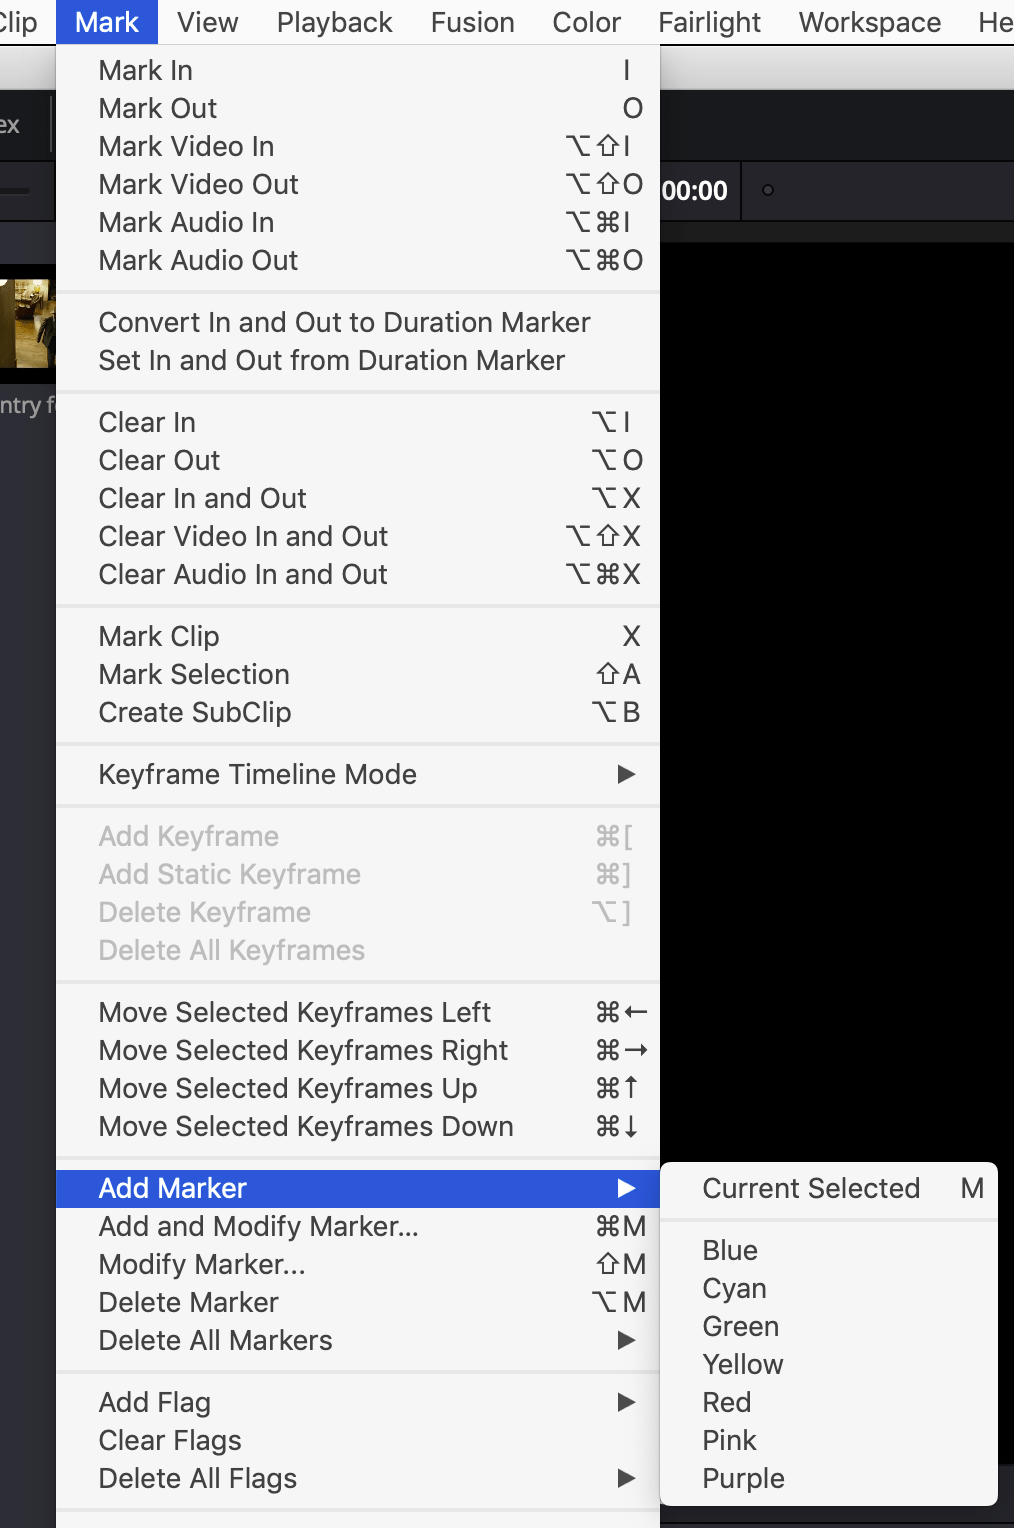
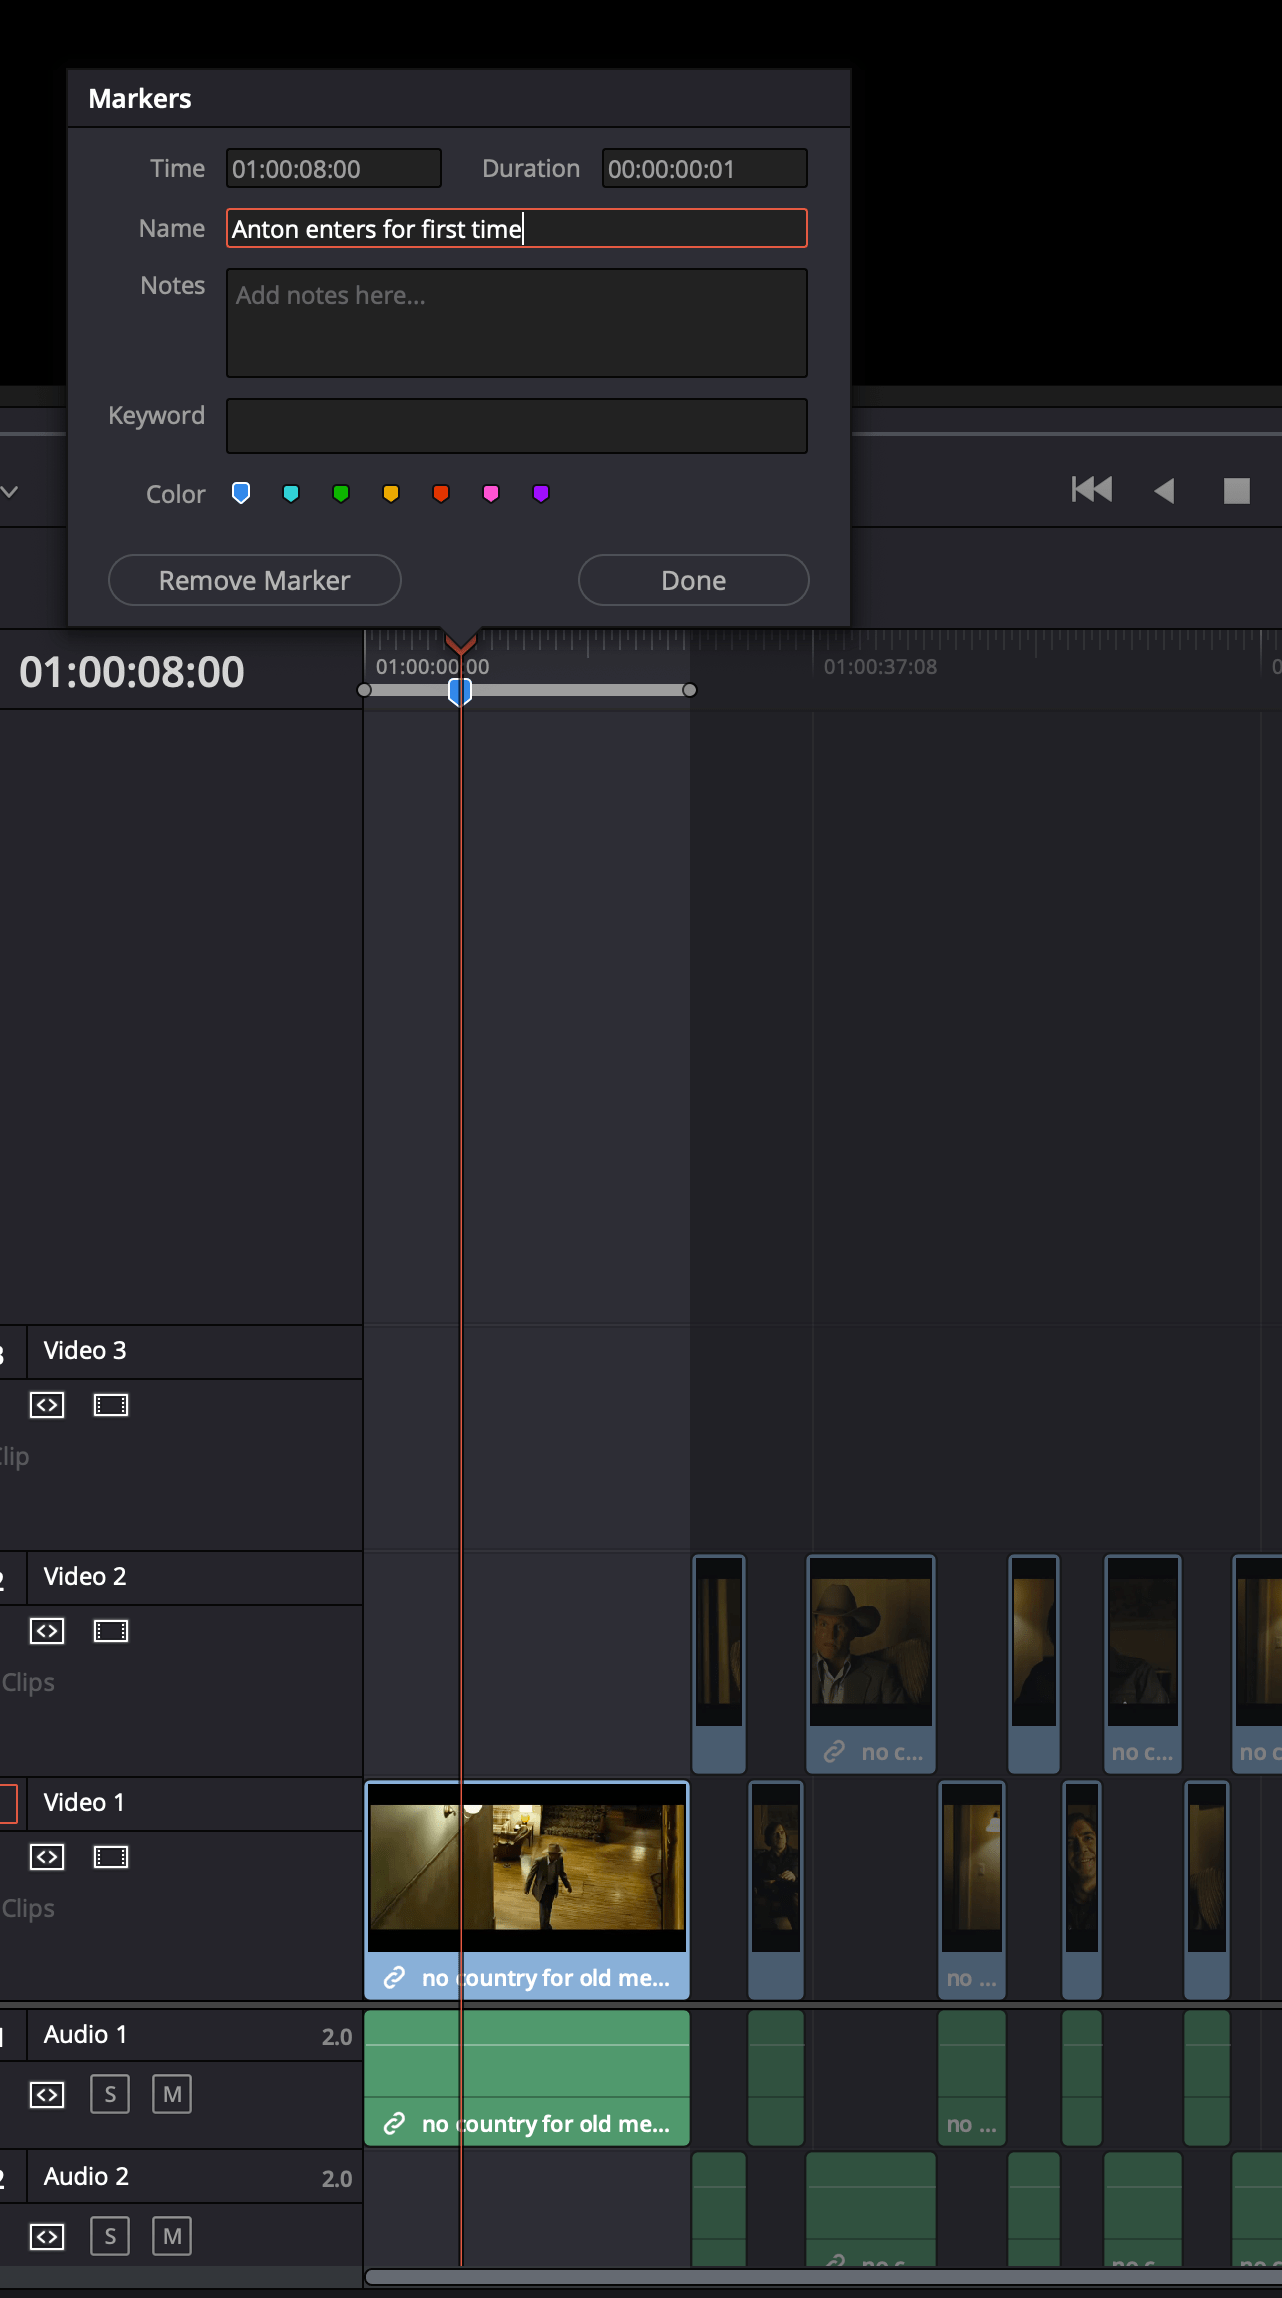
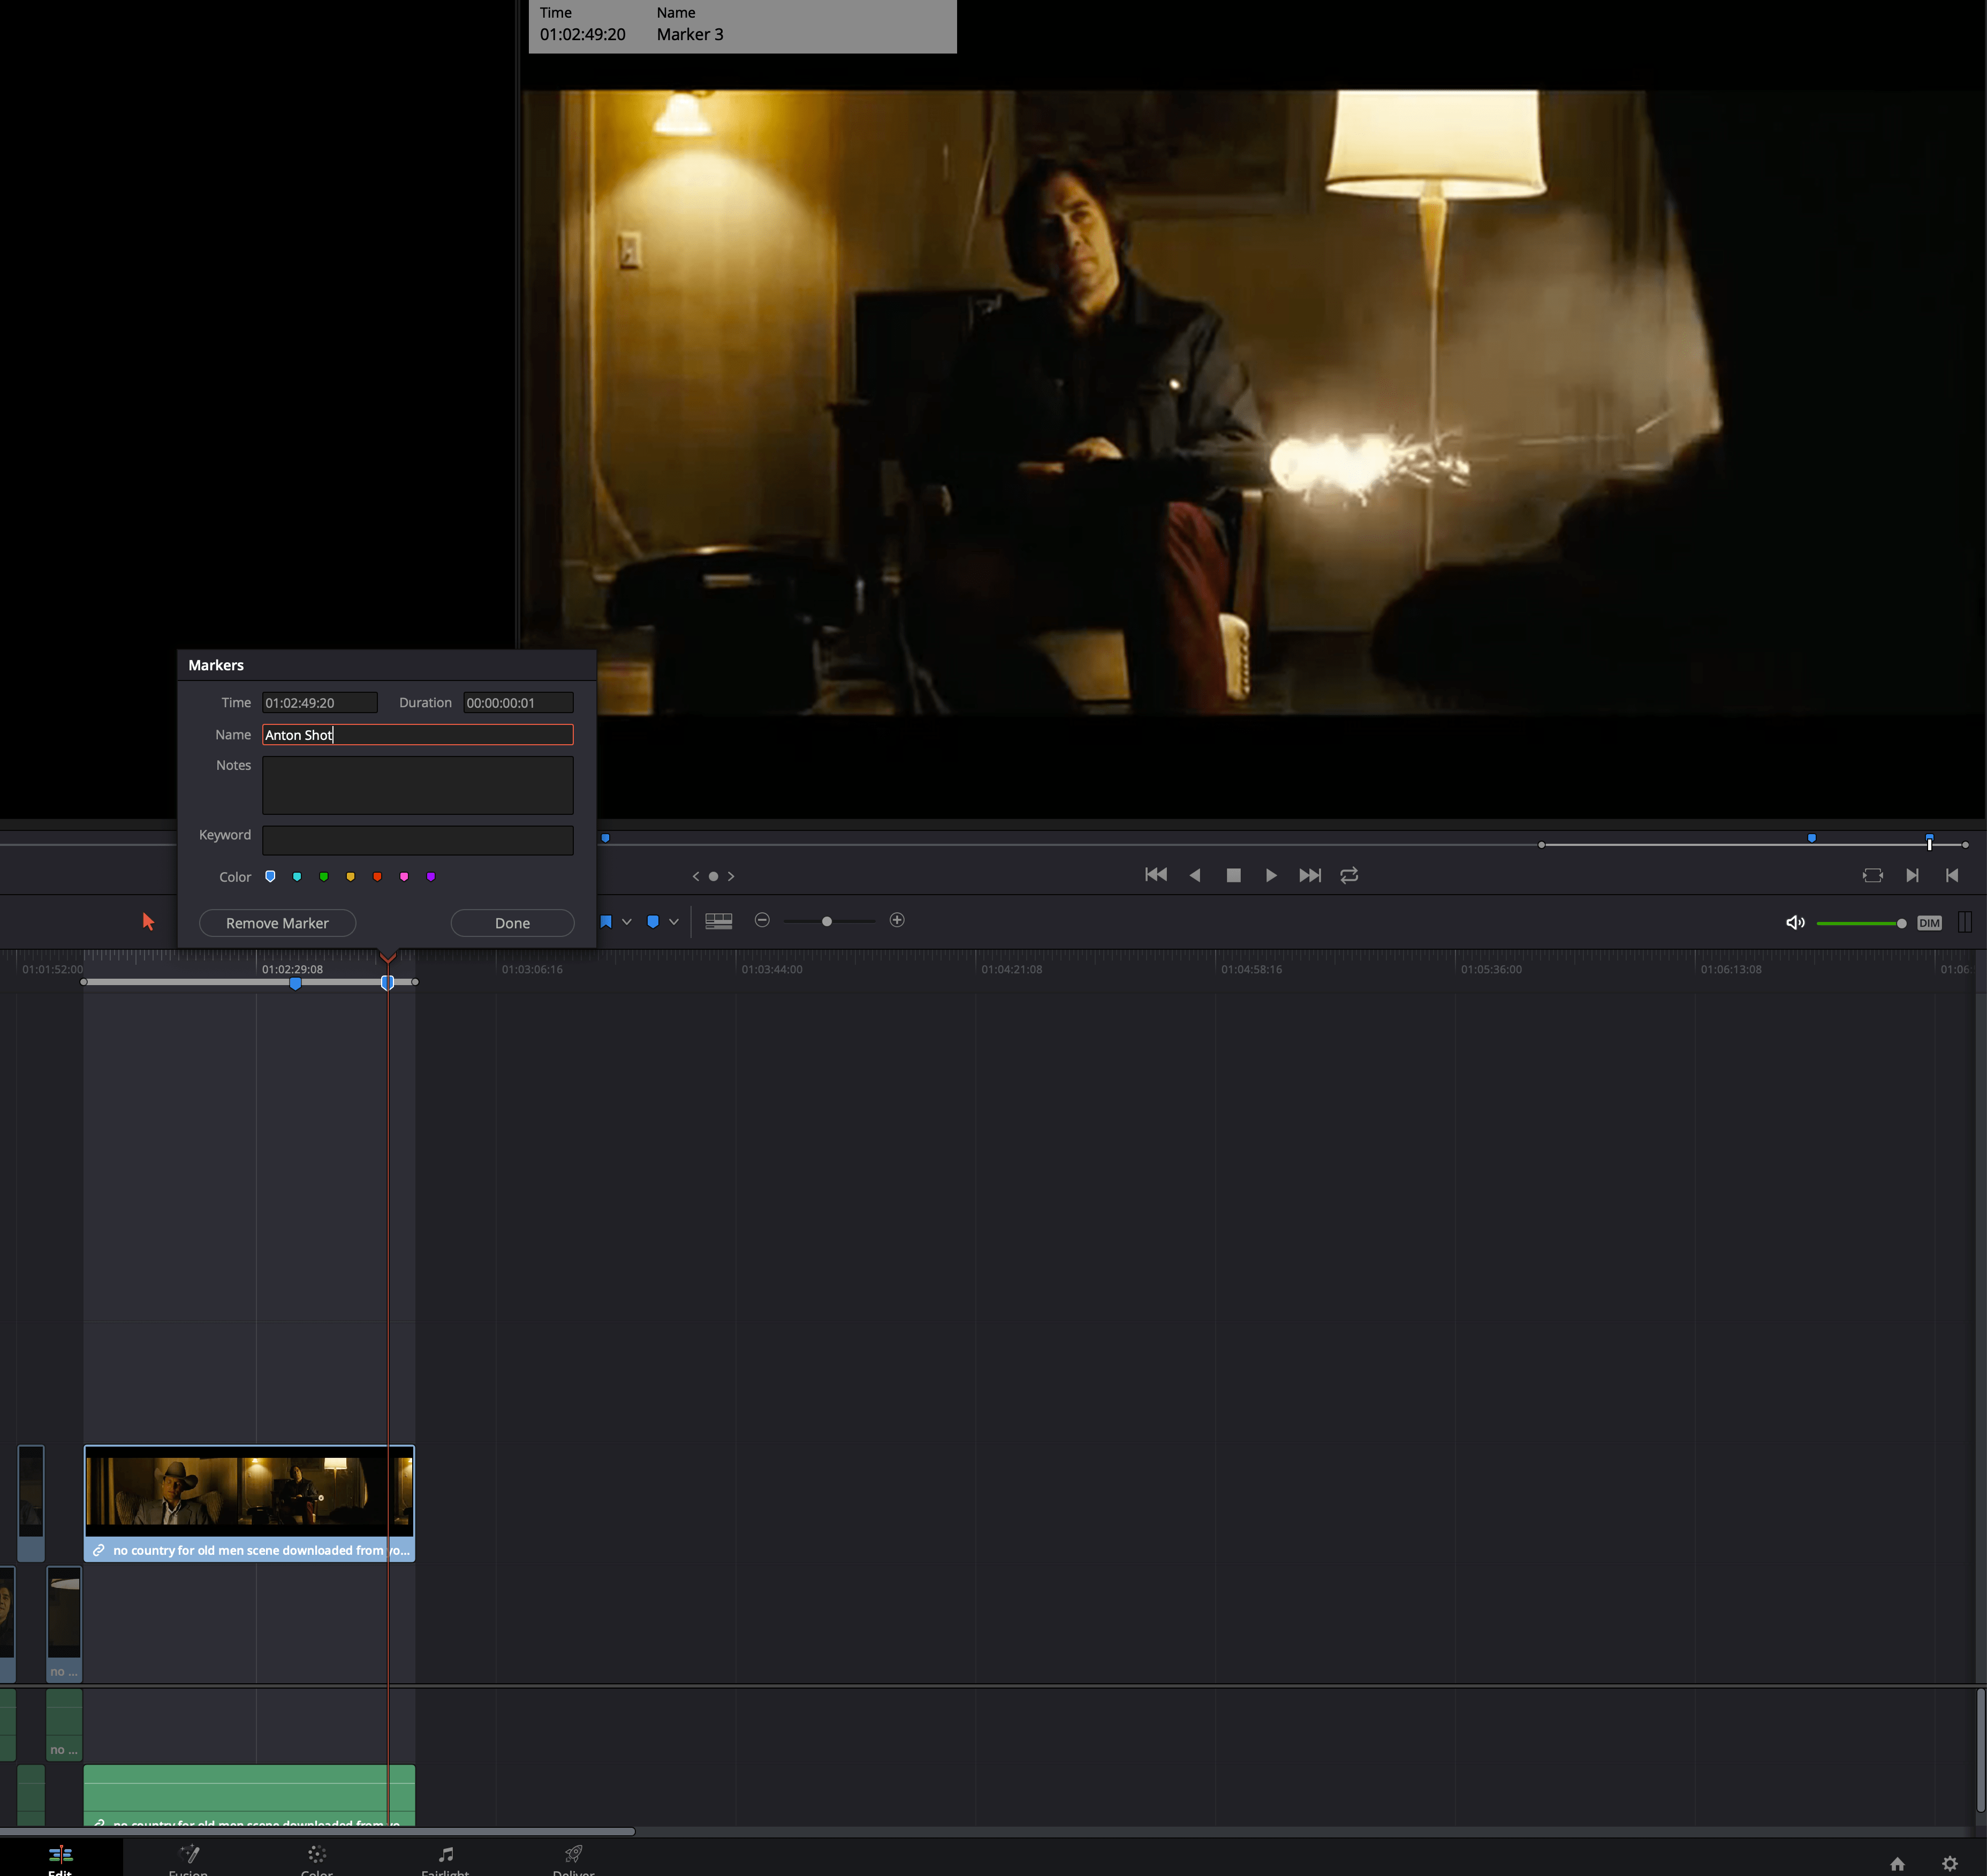
You should also add markers where anything significant happens in the film. In my case, I added a marker when Anton enters for the first time, one when the phone rings, and one when Anton is killed.
Finally, don’t forget to SAVE YOUR FILE! You will need it later.